Creative Cooking: Orange Chiffon Cake

“Labors of love….”

“I’m sorry, Mama,” said my son. He and I were in the car, and I was not feeling well. He was not apologizing because I didn’t feel well. He was sorry because he felt badly that I was driving him even though I was not well.

Mothers do this all the time, placing our children’s needs before our own. Most of us don’t think twice. I assured my son that he didn’t need to feel badly about anything. If I was truly unable to drive him, I would not have, but for me, being able to do things for my children brings me joy.

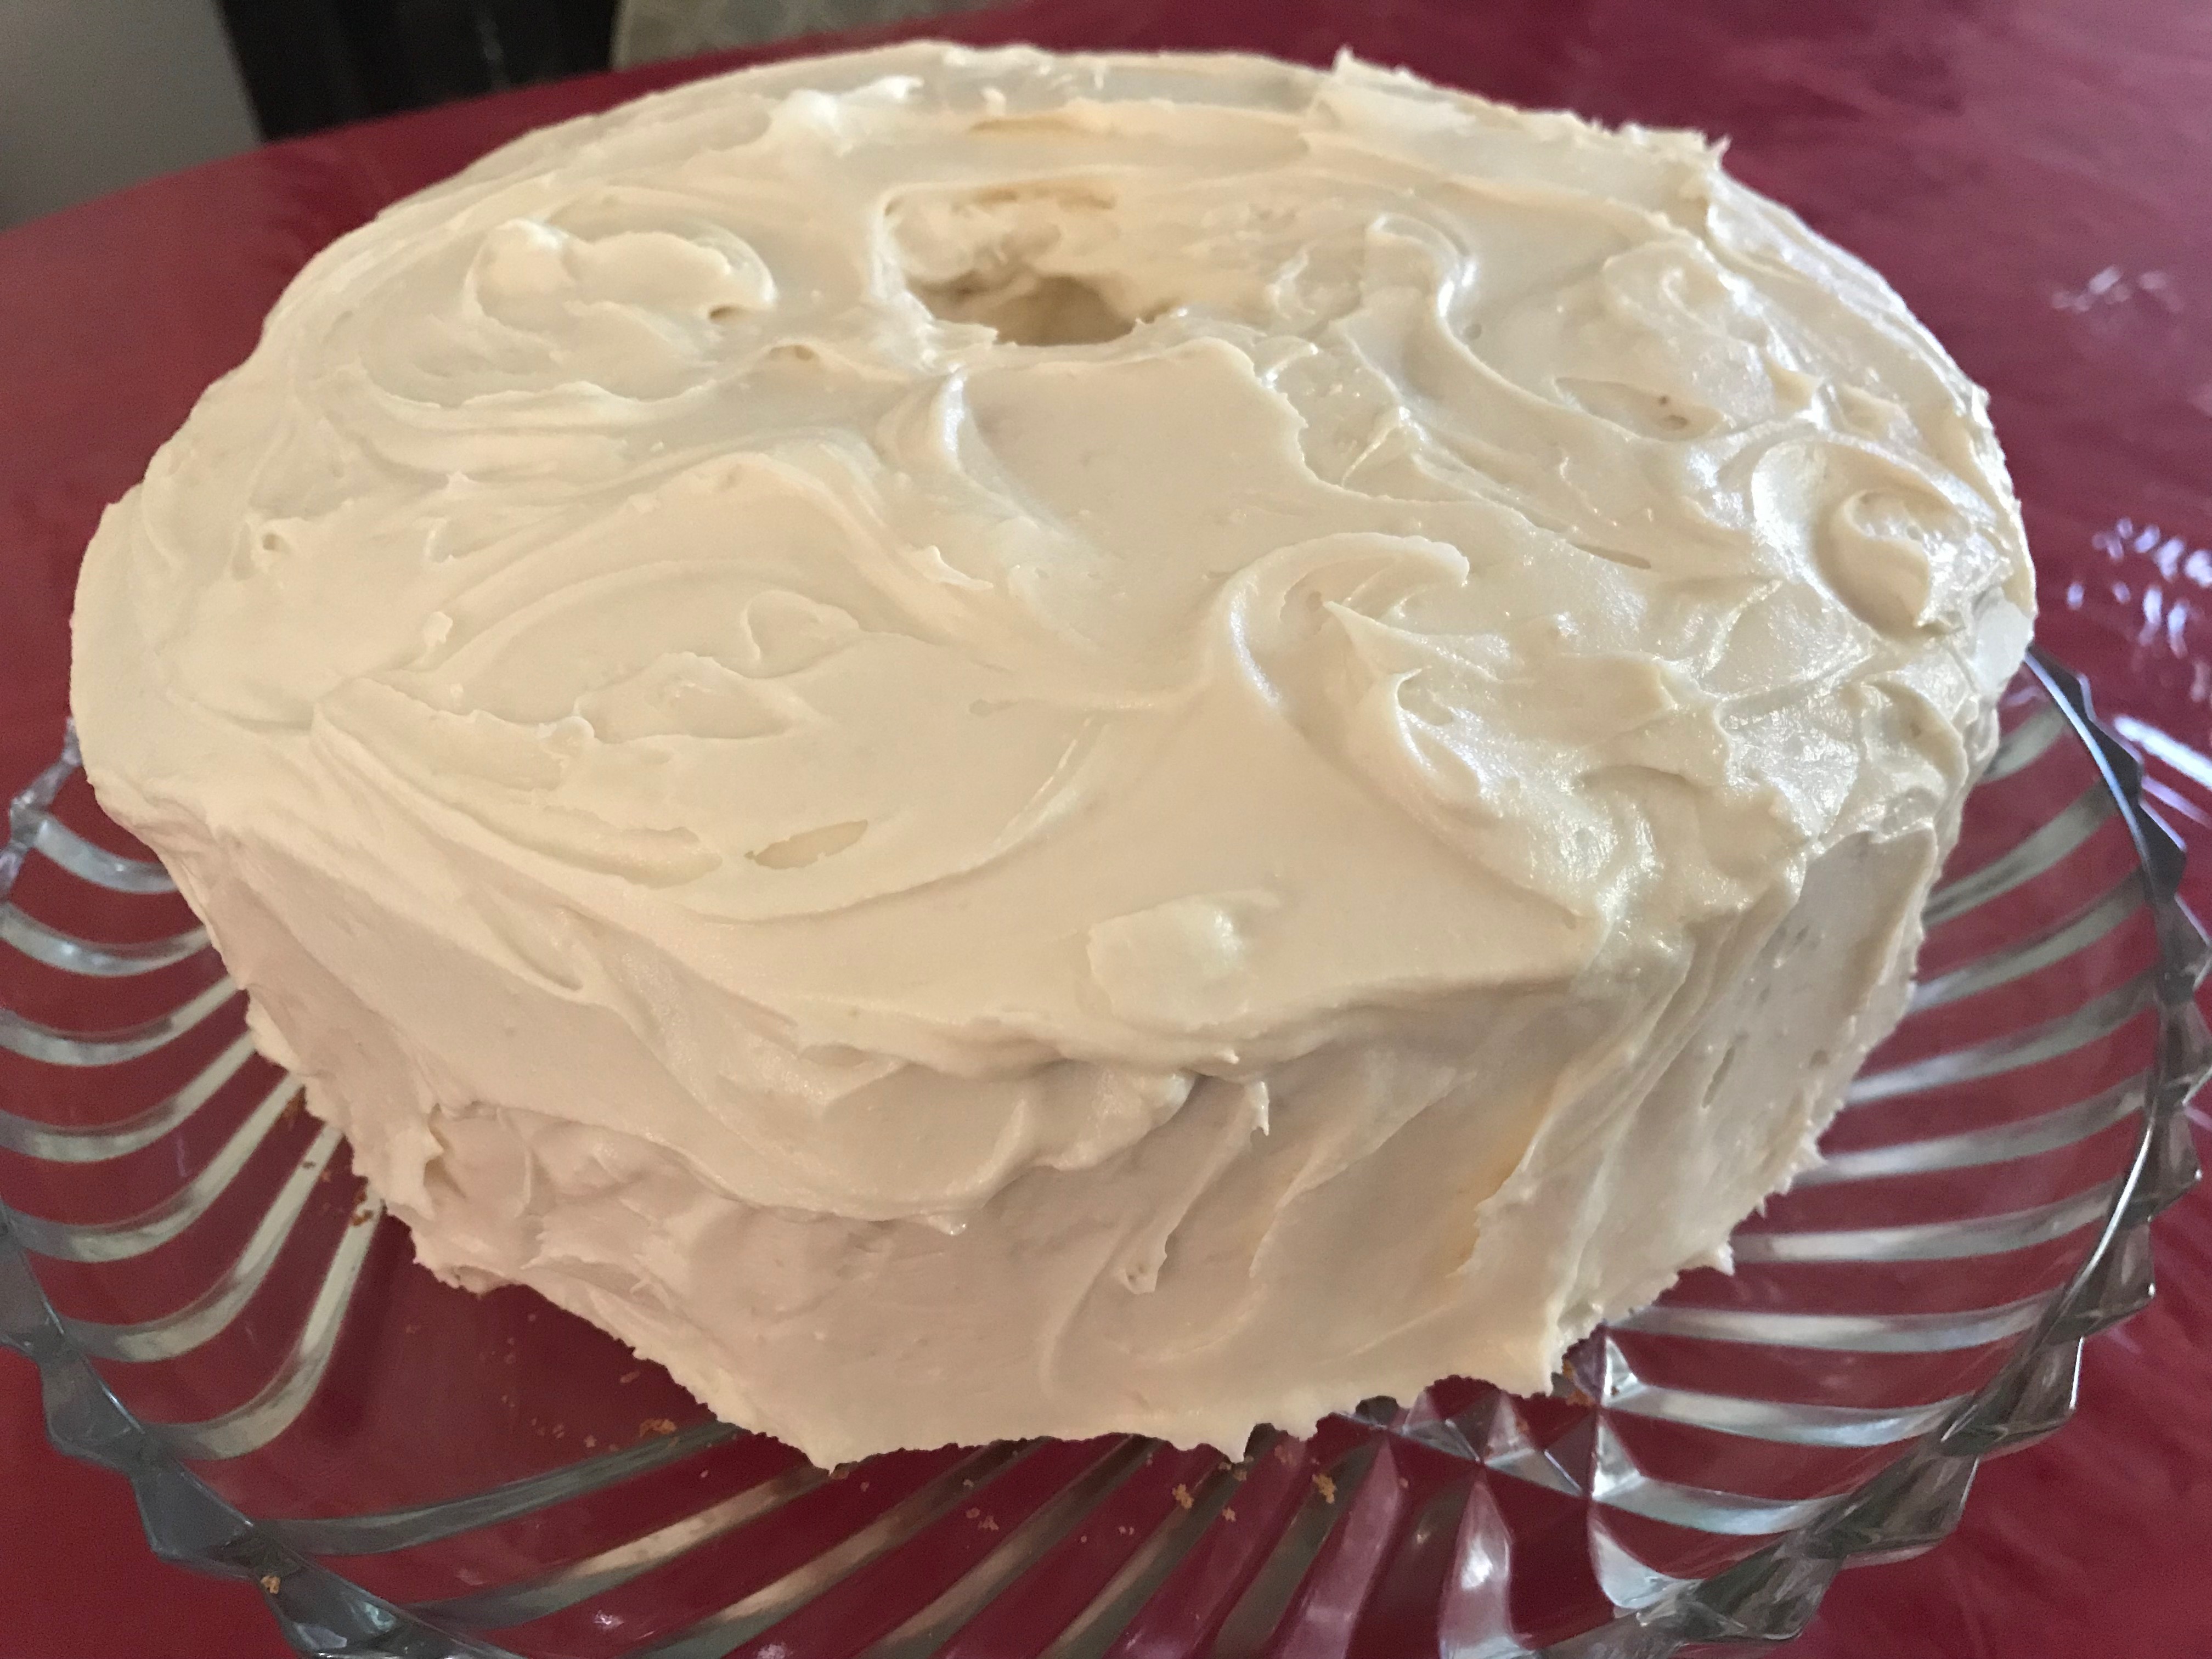
Recently, we celebrated a birthday in the family, and I made a chiffon cake, which was requested. I realized that I hadn’t made a chiffon cake in many, many years because it is more work than a regular cake, and I certainly hadn’t made one to accommodate food allergies.

The first thing you’ll see when you google chiffon cakes is that the recipes vary. There are what they call “easy” recipes which use very few eggs and take less time and then there are the more “complicated” recipes which I read were the better way to go. Because the cake was another “labor of love” for someone I care about very much, it was a no-brainer. Complicated it was.

As it was, chiffon cakes are not complicated, just time-consuming. Most recipes want you to bring the eggs to room temperature first, and then the eggs require several steps: separating the whites from the yolks, whipping the whites, and folding them into the batter. At the end, the chiffon cake also requires complete cooling time in an upside down position which had several recipes concocting elaborate sets with soda bottles to hold up the cake pan!

It seemed I needed to find a way to make things less complicated, so I did.

First, I simply took the eggs out as my first step and immediately separated the yolks from the whites, and I put the whites on the counter to sit while I assembled the other ingredients and got out my pan. It’s important to note that you need a tube pan for chiffon cake, and if you have a tube pan like mine where the center tube is wide and longer than the edges of the pan, you can simply turn your pan upside down on the tube to cool at the end with no elaborate strategy needed.

For substitutes, I swapped olive oil for the vegetable or canola oil used in most recipes, and I used monk fruit sugar in place of sugar, reducing the amount by 1/3. For the all purpose flour, I used King Arthur’s whole grain gluten free blend. Because I was using a gluten free flour, I wanted to make sure my eggs were well-whipped and airy, so I increased the cream of tartar to 1 tsp from the usual 1/4 tsp, and I increased the baking powder to 1 tbsp. By the time I had measured out all the other ingredients, I felt enough time had elapsed that I could whip the whites, and I was correct.

The resulting cake was light and airy and tasty, and I’m thinking I may even make it again!

Orange Chiffon Cake

Ingredients:

9 large eggs (will use 9 whites but only 7 yolks)

2 1/4 cups gluten free flour blend

1 cup monk fruit sugar blend (divided into 1/4 cup, 1/4 cup, and 1/2 cup)

1 tbsp baking powder

1/2 tsp salt

2 tsp dried orange peel

3/4 cup unsweetened orange juice

1/2 cup extra light olive oil

1 tsp cream of tartar

Baking Instructions:

  1. Preheat oven to 325 degrees and put out a tube pan. You do not grease the pan for a chiffon cake.
  2. Separate the yolks from the whites. You will use only seven yolks for the cake. (I put the extra two yolks in a bowl and added other eggs to them the next time I made a fritatta.) Let the nine egg whites sit in a bowl to be whipped, and put the seven yolks into a large bowl.
  3. Mix together, the flour, 1/2 cup of the monk fruit sugar, baking powder, salt, and orange peel. Set aside.
  4. To the bowl with the egg yolks, add 1/4 cup of the monk fruit sugar, orange juice, and olive oil and blend well. Set aside.
  5. To the egg whites, add the cream of tartar and last 1/4 cup of the monk fruit sugar, and whip until the egg whites are crayon white, doubled in size, thick and airy and when you pull the whisk up, the whites form a sturdy upside down peak.
  6. Add the dry ingredients to the wet and blend well.
  7. Using a curved spatula, gently fold the egg whites in a little at a time to the batter until all the egg whites have been incorporated. This will take time. Best not to hurry the process. Just slowly fold the whites in while you think about how lovely it will be when everyone enjoys the cake. *grin*
  8. Using the spatula carefully put the batter into the tube pan and once all the batter is in, gently tap the pan to let the batter settle.
  9. Bake in the preheated oven for about 50 minutes. The cake will be puffed and golden and a toothpick inserted in the center will come out clean.
  10. Put the tube pan upside down. If your pan is like mine, you can just set it on the center tube. If not, you want air to be able to circulate so place at least two items opposite one another so you can balance the pan upside down with space between the pan and the counter.
  11. Allow the cake to cool completely. This may take several hours, depending on how warm or cool your kitchen is.
  12. Once completely cooled, go around the edges between the cake and the pan with a butter knife to release the cake from the pan. Be sure to do the same between the cake and middle tube. When the cake releases, you will note that the cake is crummy around the sides where it stuck to the pan and tube. I use clean fingers to gently rub the excess crumbs off the sides of the cake so it will be neater.
  13. Serve the cake as is with whipped cream or ice cream or frost with your favorite frosting.
  14. Enjoy!


Creative Cooking: Free Form Tomato Vegetable Tart

“The season is ending….”

While Autumn brings the delights of apple and pumpkin season, it also means the end of the garden-fresh tomatoes, eggplants and kale, which arguably taste so much better than store-purchased varieties. To take advantage of the last of these veggies, courtesy of my sister-in-law’s and mother-in-law’s gardens, I decided I’d make a vegetable tart to go with the vegan roast I had decided to make for dinner last night.

I forewarn folks that this is not my typical recipe – it is not quick to make. It requires time but I assure you it’s so worth the effort, which is the reason I put aside my usual laziness in favor of making the tart. I also figured out how to do several of the steps at once to make the cooking more efficient, which I’ll include in the instructions.

The key to a good tart is a good crust. When I googled, though, I discovered that recipes seemed to think you needed to use no less than 1 1/2 to 2 cups of butter, eggs, white flour, and a couple of teaspoons of salt, and in some case, also sugar – all of which I didn’t agree. So, the first step was to create a tart dough which I could stand by. That meant reducing and substituting for the butter and salt, omitting eggs, and using gluten free flour. To enhance the flavor of the crust and keep the crust together without as much butter, I opted to pulse in fresh basil leaves which worked beautifully.

The second important ingredient to a good tart is the flavor from the veggies. What I found, though, is that most vegetable tart recipes seem to rely on cheese – a lot of cheese – which does give flavor but camouflages the flavor of the veggies. So, I needed to find ways to enhance the flavors so cheese would not be necessary. This meant roasting the eggplant, caramelizing onions to mix with the kale, and letting the tomatoes rest for a bit with a salt-garlic mixture.

The result was a wonderful tart which we thoroughly enjoyed with dinner and which I hope you will, too. I’m thinking it will become a go-to for holiday celebrations because it was so pretty, flavorful, and vegan.

Free Form Tomato-Vegetable Tart

Ingredients:

two small eggplants (about 4-5 inches long and 2-3 inches wide)

2 cups gluten free flour blend

1 cup packed fresh basil leaves (packed means push the leaves down; if you loosely put them in, it would be 2 cups)

1/2 tsp salt

1 cup soy free vegan butter, cut into small pieces (two 8 tbsp bars)

1 tbsp vinegar (I used apple cider vinegar but balsamic or white are good if you want a different flavor)

1/4 cup water

eight medium tomatoes (about 3 inches by 3 inches; I used two different types for color contrast)

1/2 tsp salt

2 tsp minced garlic

8 oz sliced onions (about two cups; I used sweet white onions)

olive oil

5 oz fresh kale and/or spinach leaves (about 3 cups packed down)

1/4 cup vegan parmesan

1 cup packed fresh basil leaves, sliced into thin slices

Cooking Instructions:

  1. Preheat the oven to 400 degrees and prick the eggplants several times with fork tines to release steam while they are roasting. When the oven is preheated, place the eggplants on a small cookie sheet and roast them for about 40 minutes. When they are done, remove them from the oven and allow them to cool. Do not turn off the oven, because you will be cooking the tart at the same temperature.
  2. While the oven is preheating, put the gluten free flour, the basil leaves and the salt into a food processor. Pulse until they are thoroughly mixed together and the basil leaves are small pieces incorporated into the flour. Add the vegan butter and pulse until small butter pieces are incorporated throughout the flour mixture. Mix the vinegar with the water and pour into the food processor. Pulse until you have a cohesive dough. Use a rubber scraper to remove the dough from the food processor onto a piece of saran wrap. Wrap the dough and shape into a disk. Place into the refrigerator. (If you do not have a food processor, use a pastry knife or two regular knives to chop first the basil and then the butter into the flour, and then mix the liquid into the flour with a fork until a batter forms.)
  3. After putting the eggplant into the oven and the tart dough into the fridge, slice the tomatoes into about 1/4 inch slices and put them into a large bowl. (I used two different colors of tomatoes [four of each] so that they’d look prettier in the tart, but all of the same type works, too.) To the tomatoes in the bowl, add the salt and minced garlic and gently toss to coat all the tomatoes. Then just let the tomatoes sit. While they are sitting, they will release their juices, which is what you want to happen.
  4. After getting the tomatoes ready, put the sliced onions into a shallow, wide cooking pan and mix with just enough olive oil to coat the onions. Turn the burner to low heat and allow the onions to slowly cook for about 20 minutes, stirring just every once and while. When the onions are completely caramelized, they will be a golden brown, soft, and look like they have a sticky sauce on them. When they are done, add the kale and/or spinach leaves and cook for about two minutes, just until the leaves begin to wilt and the onions and kale/spinach are well mixed together. When done, turn off the burner and let them cool.
  5. By now, your eggplants will be done and cooled a bit. Peel off the skins (this is easily done with clean fingers), chop the eggplants into small pieces, and stir the pieces into the onion-kale mixture.
  6. After that is done, drain the liquid from the tomatoes.
  7. Remove the tart dough from the fridge, and on a piece of floured parchment or directly on a cookie sheet, roll the dough into a 16 inch circle. (I used a 16 inch round pizza pan which meant simply rolling the dough out to the edges of the pan with a small roller that fit directly in the pan. If you use the parchment paper, you will need to transfer the dough to a sheet pan large enough to fit the circle of dough.)
  8. Sprinkle the vegan parmesan onto the dough, leaving a one inch margin around the edge of the dough. (The parmesan will help absorb any extra moisture from the vegetables so you do want to include it. If you would rather not for any reason, I suggest using a 1/4 cup of gluten free bread crumbs instead.)
  9. Carefully put the onion-kale-eggplant mixture on top of the sprinkled parmesan, leaving that one inch margin along the edges of the dough. Then, if using two kinds of tomatoes, alternate the tomatoes in circles on top of the onion-kale-eggplant mixture. Make sure the veggies are even all the way around.
  10. Then, using clean fingers and the help of a rubber scraper, gently push up the one inch margin of dough to form an outside crust around the vegetables. Once the crust is formed, sprinkle the sliced basil on top of the tomatoes to the edge of the crust.
  11. In the still preheated 400 degree oven, place the tart and bake for a total of 50 minutes, turning the tart around halfway through the cooking time. When the tart is done, the dough would have puffed a bit, be golden brown, and firm to the touch.
  12. Remove the tart from the oven and allow it to cool for about 10 to 15 minutes before cutting into it, so that all the juices will settle, and it will be easier to cut. Use a very sharp knife or pizza cutter to cut the tart into slices.