
“Will you teach me to cook?”
A couple of months ago my son asked if I’d give him weekly cooking lessons because as he explained, “When I grow up I need to know how to make the two most important meals of the day: breakfast and dessert!”
So, over the past several weeks he’s learned how to make pancakes, waffles, French toast, marble cake, brownies, and oatmeal crumb cake. This morning, since Autumn has officially begun, and my favorite apples, Honey Crisp, are finally in season, I thought I’d teach him how to make my version of an apple strudel.
Strudels are lovely recipes where dough is filled with yummy fruit, rolled and cooked. I have found them to be rather messy, though, and not easy to eat without a fork and knife. I do, however, love to make use of Honey Crisp apples during the Fall months because they are naturally sweet which means I don’t need to add any additional sweetener to them.
The recipe that follows is sort of a combination between an apple strudel and a cinnamon roll which is cooked in the shape of a muffin using muffin tins. I got the idea from a recipe by Nicole Hunn of Gluten Free on a Shoestring (http://glutenfreeonashoestring.com/). If your only issue is gluten, she is a good source to refer to for recipes. Since I, however, have multiple allergies, I’m always having to adjust her recipes to fit my particular needs. In this case, though, her idea of making cinnamon buns in a muffin tin appealed to me, and I adapted that method for my recipe, which it turns out even my eleven year old can easily make.
Making this recipe for a Saturday morning is lovely because while the forming of the muffin takes about 20 minutes, the last half of the time is them baking in the oven while you make something else to go with them, which in our case this morning was turkey breakfast sausage.
For the recipe, I created my own flour blend because I wanted the “breakfast” muffins to be fiber full and have some protein. I found over time that a combination of sorghum, millet, oat, brown rice and tapioca flour gives us the best taste and texture. I also opted to use coconut sugar because I stay away from refined white sugar. Folks who have coconut allergies, though, should go ahead and use sugar or some other sugar substitute. In addition, I chose flax milk for my liquid because I figure it doesn’t hurt to add more omega 3’s to our diet, but again, if folks are allergic or prefer some other milk, go for it.
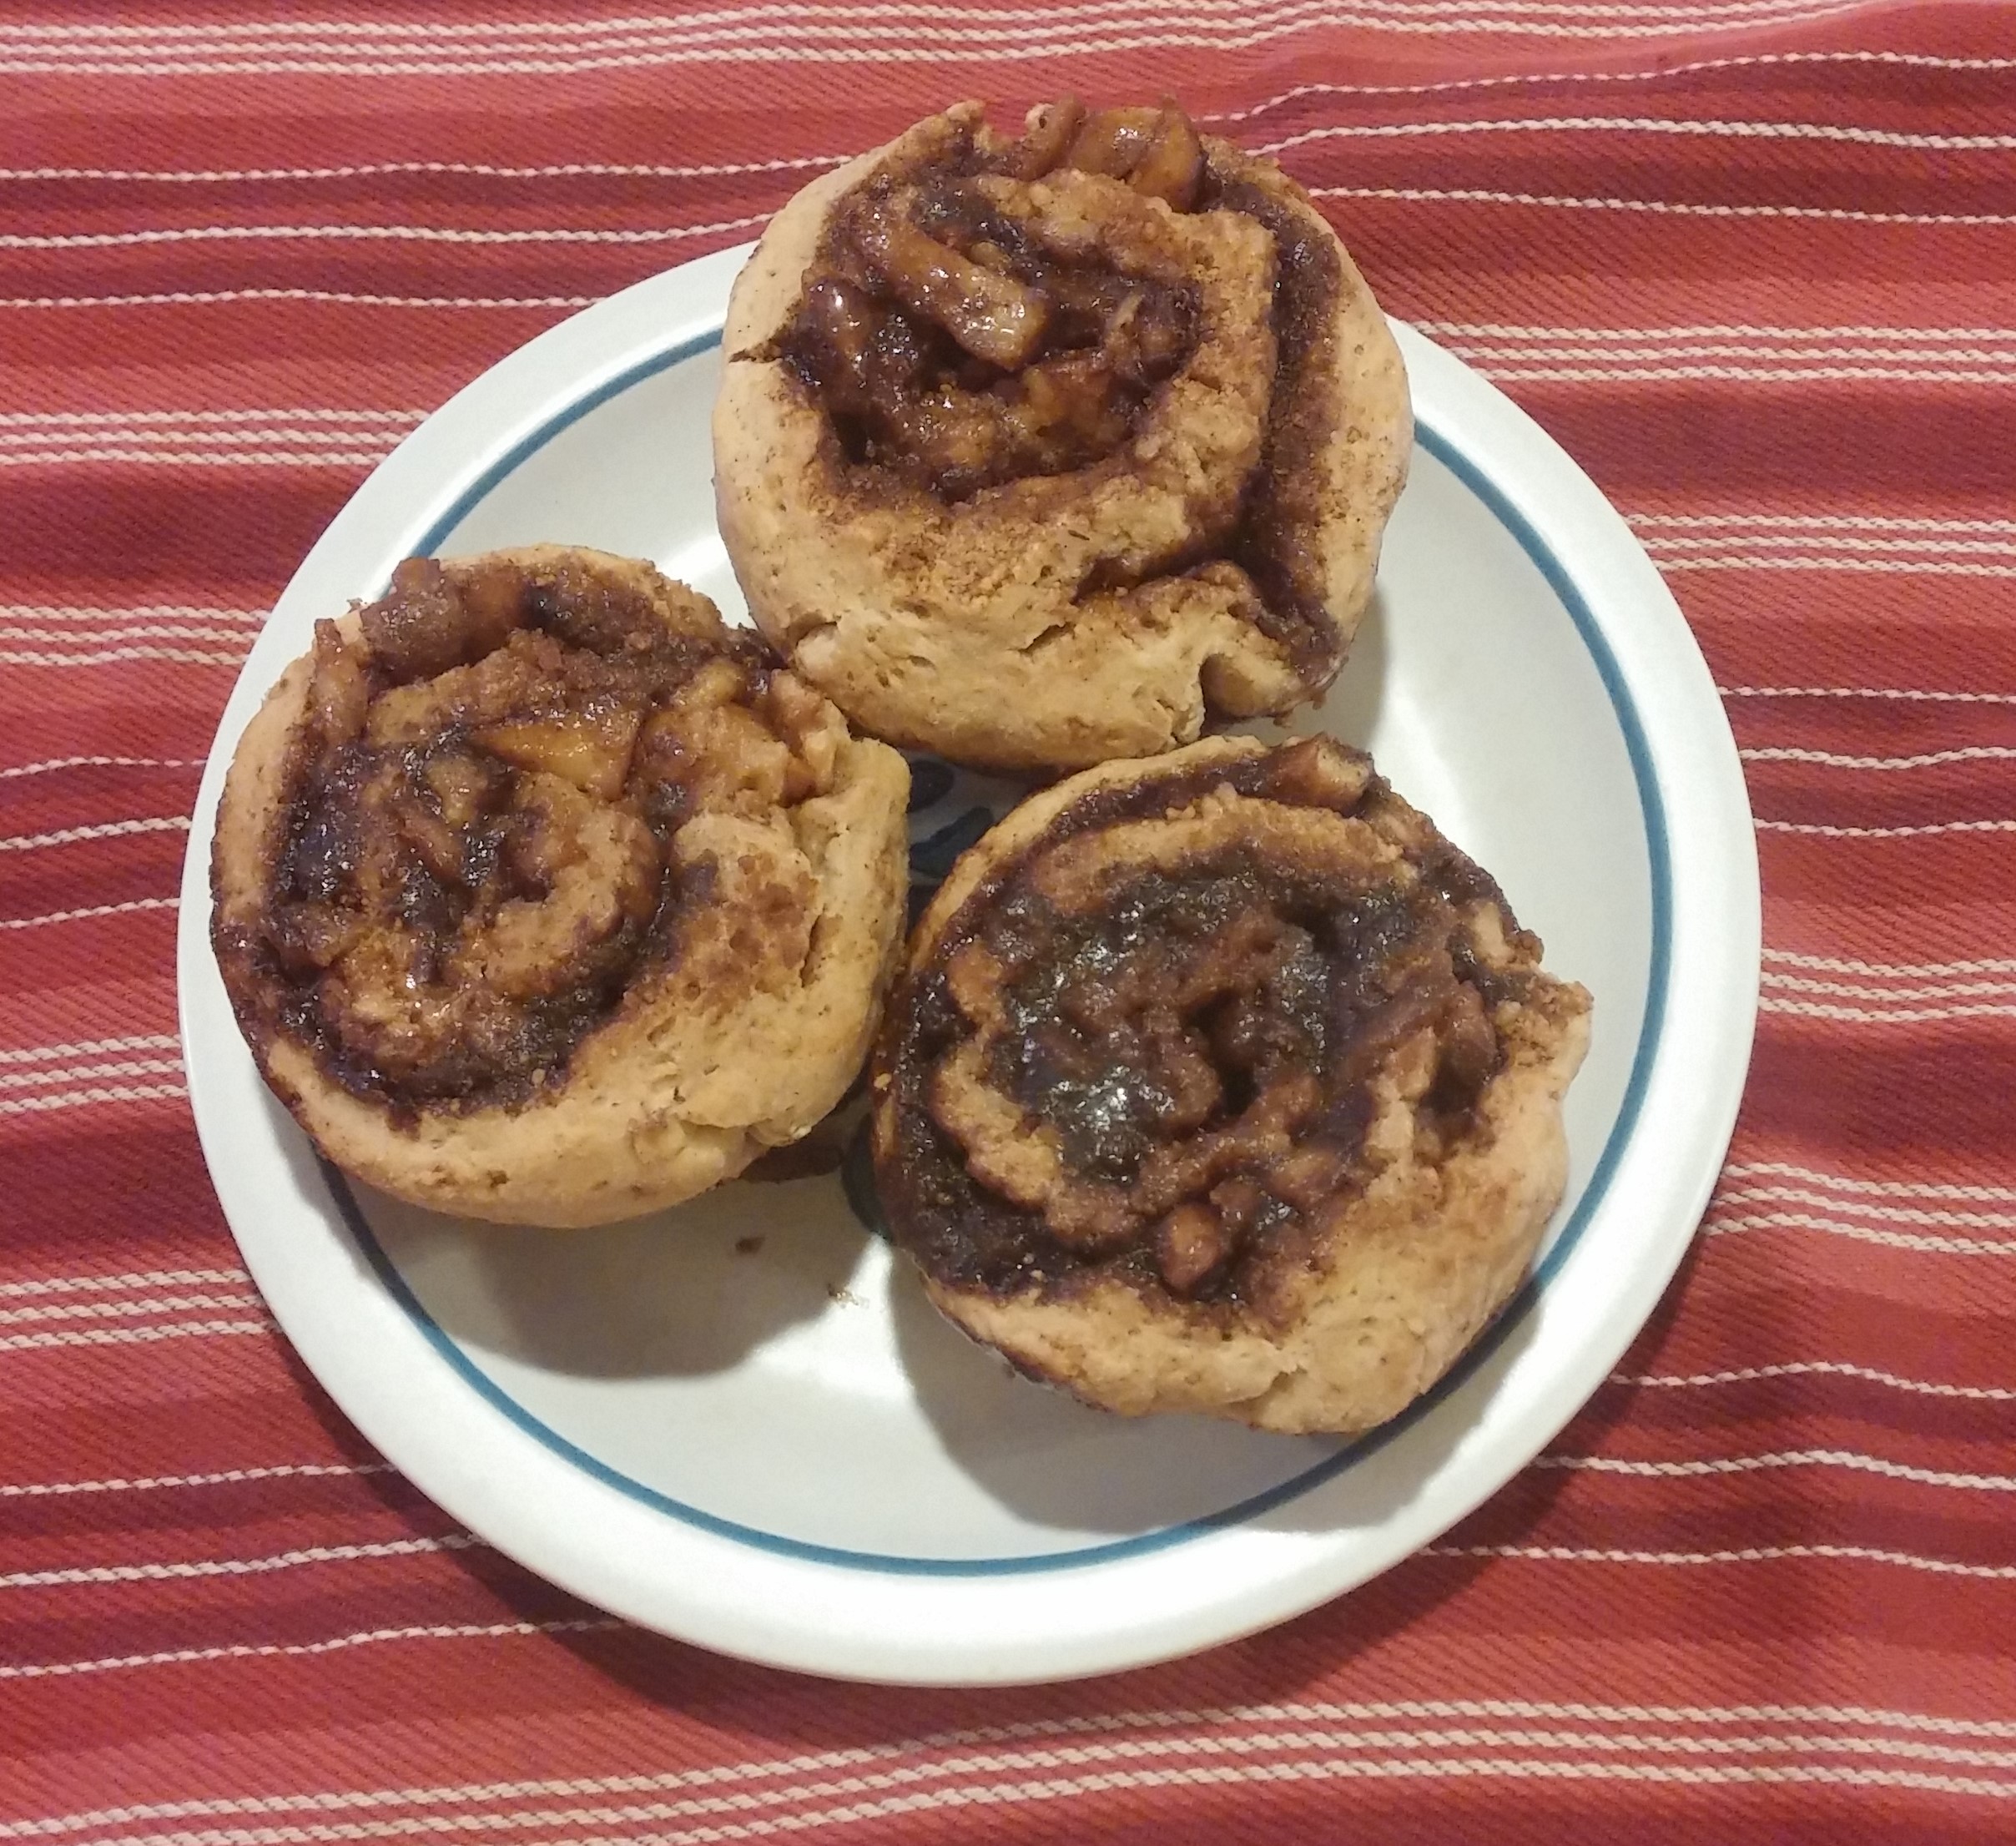
Cinnamon Apple Strudel Muffins
Ingredients:
Filling:
Apple:
2 Honey Crisp apples
1/4 cup water
1/2 tsp cinnamon
Cinnamon:
1 cup coconut sugar
2 tablespoons cinnamon
1/4 cup vegan soy free butter (or regular if you’re not allergic and prefer)
Batter:
1 cup sorghum flour
1 cup millet flour
1 cup tapioca flour
3/4 cup brown rice flour
1/4 cup oat flour
2 tsp xanthan gum
2 1/2 teaspoon baking powder
1 1/2 tsp cinnamon
1/2 tsp nutmeg
1/4 tsp salt
1/2 cup coconut sugar (or sugar, if you’d prefer or are allergic)
1/4 cup plus 2 tablespoons of vegan soy free butter (or regular if you’re not allergic and prefer)
2 eggs
1 cup flax milk (or other type if you prefer or are allergic; I would’t recommend rice milk, though, because it’s too thin)
Topping:
1 tbsp vegan soy free butter
1 tbsp coconut sugar
1/2 tsp cinnamon
Baking Instructions:
- Preheat the oven to 350 degrees and grease a 12 muffin tin with your preferred method.
- Peel, core and chop the apples by cutting them into quarters, then slicing each quarter thinly into five or six slices, turning the slices on their sides and cutting them on the short ends into small strips. You’ll have a couple cups worth of matchstick width pieces of apples.
- Put the apple pieces into a shallow pan which allows the pieces to be one layer. Pour the water over the apples and sprinkle the cinnamon on top. Stir the apples to coat them well with the cinnamon and then saute the apples over medium-low heat. The water will come to a boil and then slowly dissipate. Stir occasionally until all the water is gone and the apples are soft. Usually this entire process only takes about five minutes. Turn the heat off and let the apples cool while you make the rest of the filling and the batter.
- Mix the coconut sugar with the cinnamon and set aside. Melt the vegan butter and set aside.
- Mix the sorghum, millet, tapioca, oat and brown rice flours with the xanthan gum, baking powder, cinnamon, nutmeg, salt and coconut sugar.
- For the next part, it works well if you have a mixer with a dough handle but if you don’t have a dough handle, you can mix the dough with spoon and then finish kneading everything in by hand: Add to the dry ingredients, the vegan butter, eggs and milk, incorporating them just until you have a ball of dough, if you’re using the mixer. If you’re doing it by hand, mix the ingredients into well incorporated and then knead on parchment paper sprinkled with flour until you have a soft, pliable ball of dough.
- Put the dough ball onto parchment paper sprinkled with flour (I use the brown rice flour but you can use any type you’d like). Lightly sprinkle the dough with flour and roll it into an 15 by 12 inch rectangle. I find it’s best to start in the center and slowly work your way outward in all four directions, occasionally shaping the dough with your hands into a rectangle shape. (This was the part my son found to be the most fun!)
- Using a brush, brush the melted butter over the surface of the dough, leaving about a 1/4 inch on one of the short ends free of butter. It’ll seem like you have a lot of butter but be sure to use all of it on the top of the dough.
- Sprinkle the butter surface of the dough with the coconut sugar mixture, leaving that 1/4 inch on the short end free as before of anything.
- Carefully spread the apple slices evenly on top of the cinnamon covered dough so that they’re in an even single layer but mostly covering the surface with the exception of the 1/4 inch on the short end.
- Starting on the short end opposite the free 1/4 inch side, carefully tuck in the end and begin rolling the dough toward the uncovered end. You can use the parchment paper to help roll. With every roll of the dough, it helps to use your hands to tighten it along the entire edge before continuing with the rolling. If you are using the parchment paper and have sprinkled flour, the dough will easily roll off the paper. If you are finding that it does stick, use a spatula to gently unstick the dough from the paper before continuing with your rolling. (I have never had to do this, but just in case….)
- When you reach the end which is free of filling, gently seal the edge and use your hands to carefully shape the log so it’s evenly round along the entire log.
- Slice the log into 12 even pieces. I like to just lay a 12 inch ruler and mark off the 12 inches and then use a serrated knife to cut the pieces.
- Put the pieces into the greased muffin tins. You should find that they just fit into the tins. You may need to shape/squash them a bit on the sides to get them in if your dough is nice and puffy, but that’s okay.
- Bake in the preheated oven for 25 minutes. They’ll be puffed and golden brown. While the muffins are baking, mix the tablespoon of coconut sugar with the cinnamon. Set aside.
- Using a butter knive, gently go around the edges to release them from sticking. Let them cool about five minutes in the tins before removing them to a cooling rack. While they are cooling in the tins, divide the tablespoon of butter evenly on top of each of the 12 muffins and brush them until the butter is melted. Sprinkle the sugar/cinnamon mixture evenly on top of the muffins and let it melt into the butter.
Note: For the holidays, instead of using the cinnamon sugar on top, I make an icing to drizzle on top which is tofu cream cheese blended with agave and cinnamon. If you prefer to use sugar, you can mix powdered sugar with cinnamon and milk.


You must be logged in to post a comment.