Healthy Habits: Quinoa Black Bean Salad

“It’s a bit difficult to avoid all of nature….”

Recently my health insurance provider decided that they wouldn’t cover allergy medications any more which is a big blow to my health. When one goes to an allergist for the first time, the allergist will test you for 80 most common allergens. I am allergic to 78. Have been since I was a child, and they haven’t changed in over 40 years, despite repeated testing every seven years.

For the first thirty years of my life, I coughed, hacked, and sniffled my way through life, never without huge wads of tissues in hand and rarely able to breathe through my nose. The advent of new medications, specifically nose sprays, seemed an opportunity for relief. True to my life, though, it turned out I was allergic to most of the new medications. Go figure! But there was one which actually worked, and for the past 15 years, I was able to breathe through my nose, divest down to one tissue a day, and only hack, cough and sniffle two or three times a year when the allergy seasons were at their worst.

Now, though, I’ve slowly begun a descent back to what I had forgotten, not being able to breathe unless completely upright, blowing my nose so often that it’s red and raw, once again needing to invest in my own tissue company, and finding myself at the doctor’s more than I’d like to be for antibiotics for sinus infections.

On the plus side, I’ve been so sick at times that I’ve been forced to stay at home which is an unusual opportunity for me because I suddenly have time which I wouldn’t have had if I were out at my usual meetings and running of errands. It has also meant I can see firsthand which parts of my life really must be attended to and which can survive without me.

On the downside, feeling unwell makes me tired which stimulates cravings for food which aren’t always the healthiest of choices. Since I always have to watch my weight and my sugars, I have been trying to create comfort foods which curb my cravings but which are healthy.

One such recipe is for a quinoa salad. If you are unfamiliar with quinoa, it is essentially a seed which is a good protein source.  Because it cooks similarly to rice, folks tend to eat it like a grain, and folks who are diabetic or needing to watch carbs should know that quinoa is high in carbohydrates. Since quinoa is also high in protein and fiber, though, eaten judiciously, quinoa is a great comfort food.

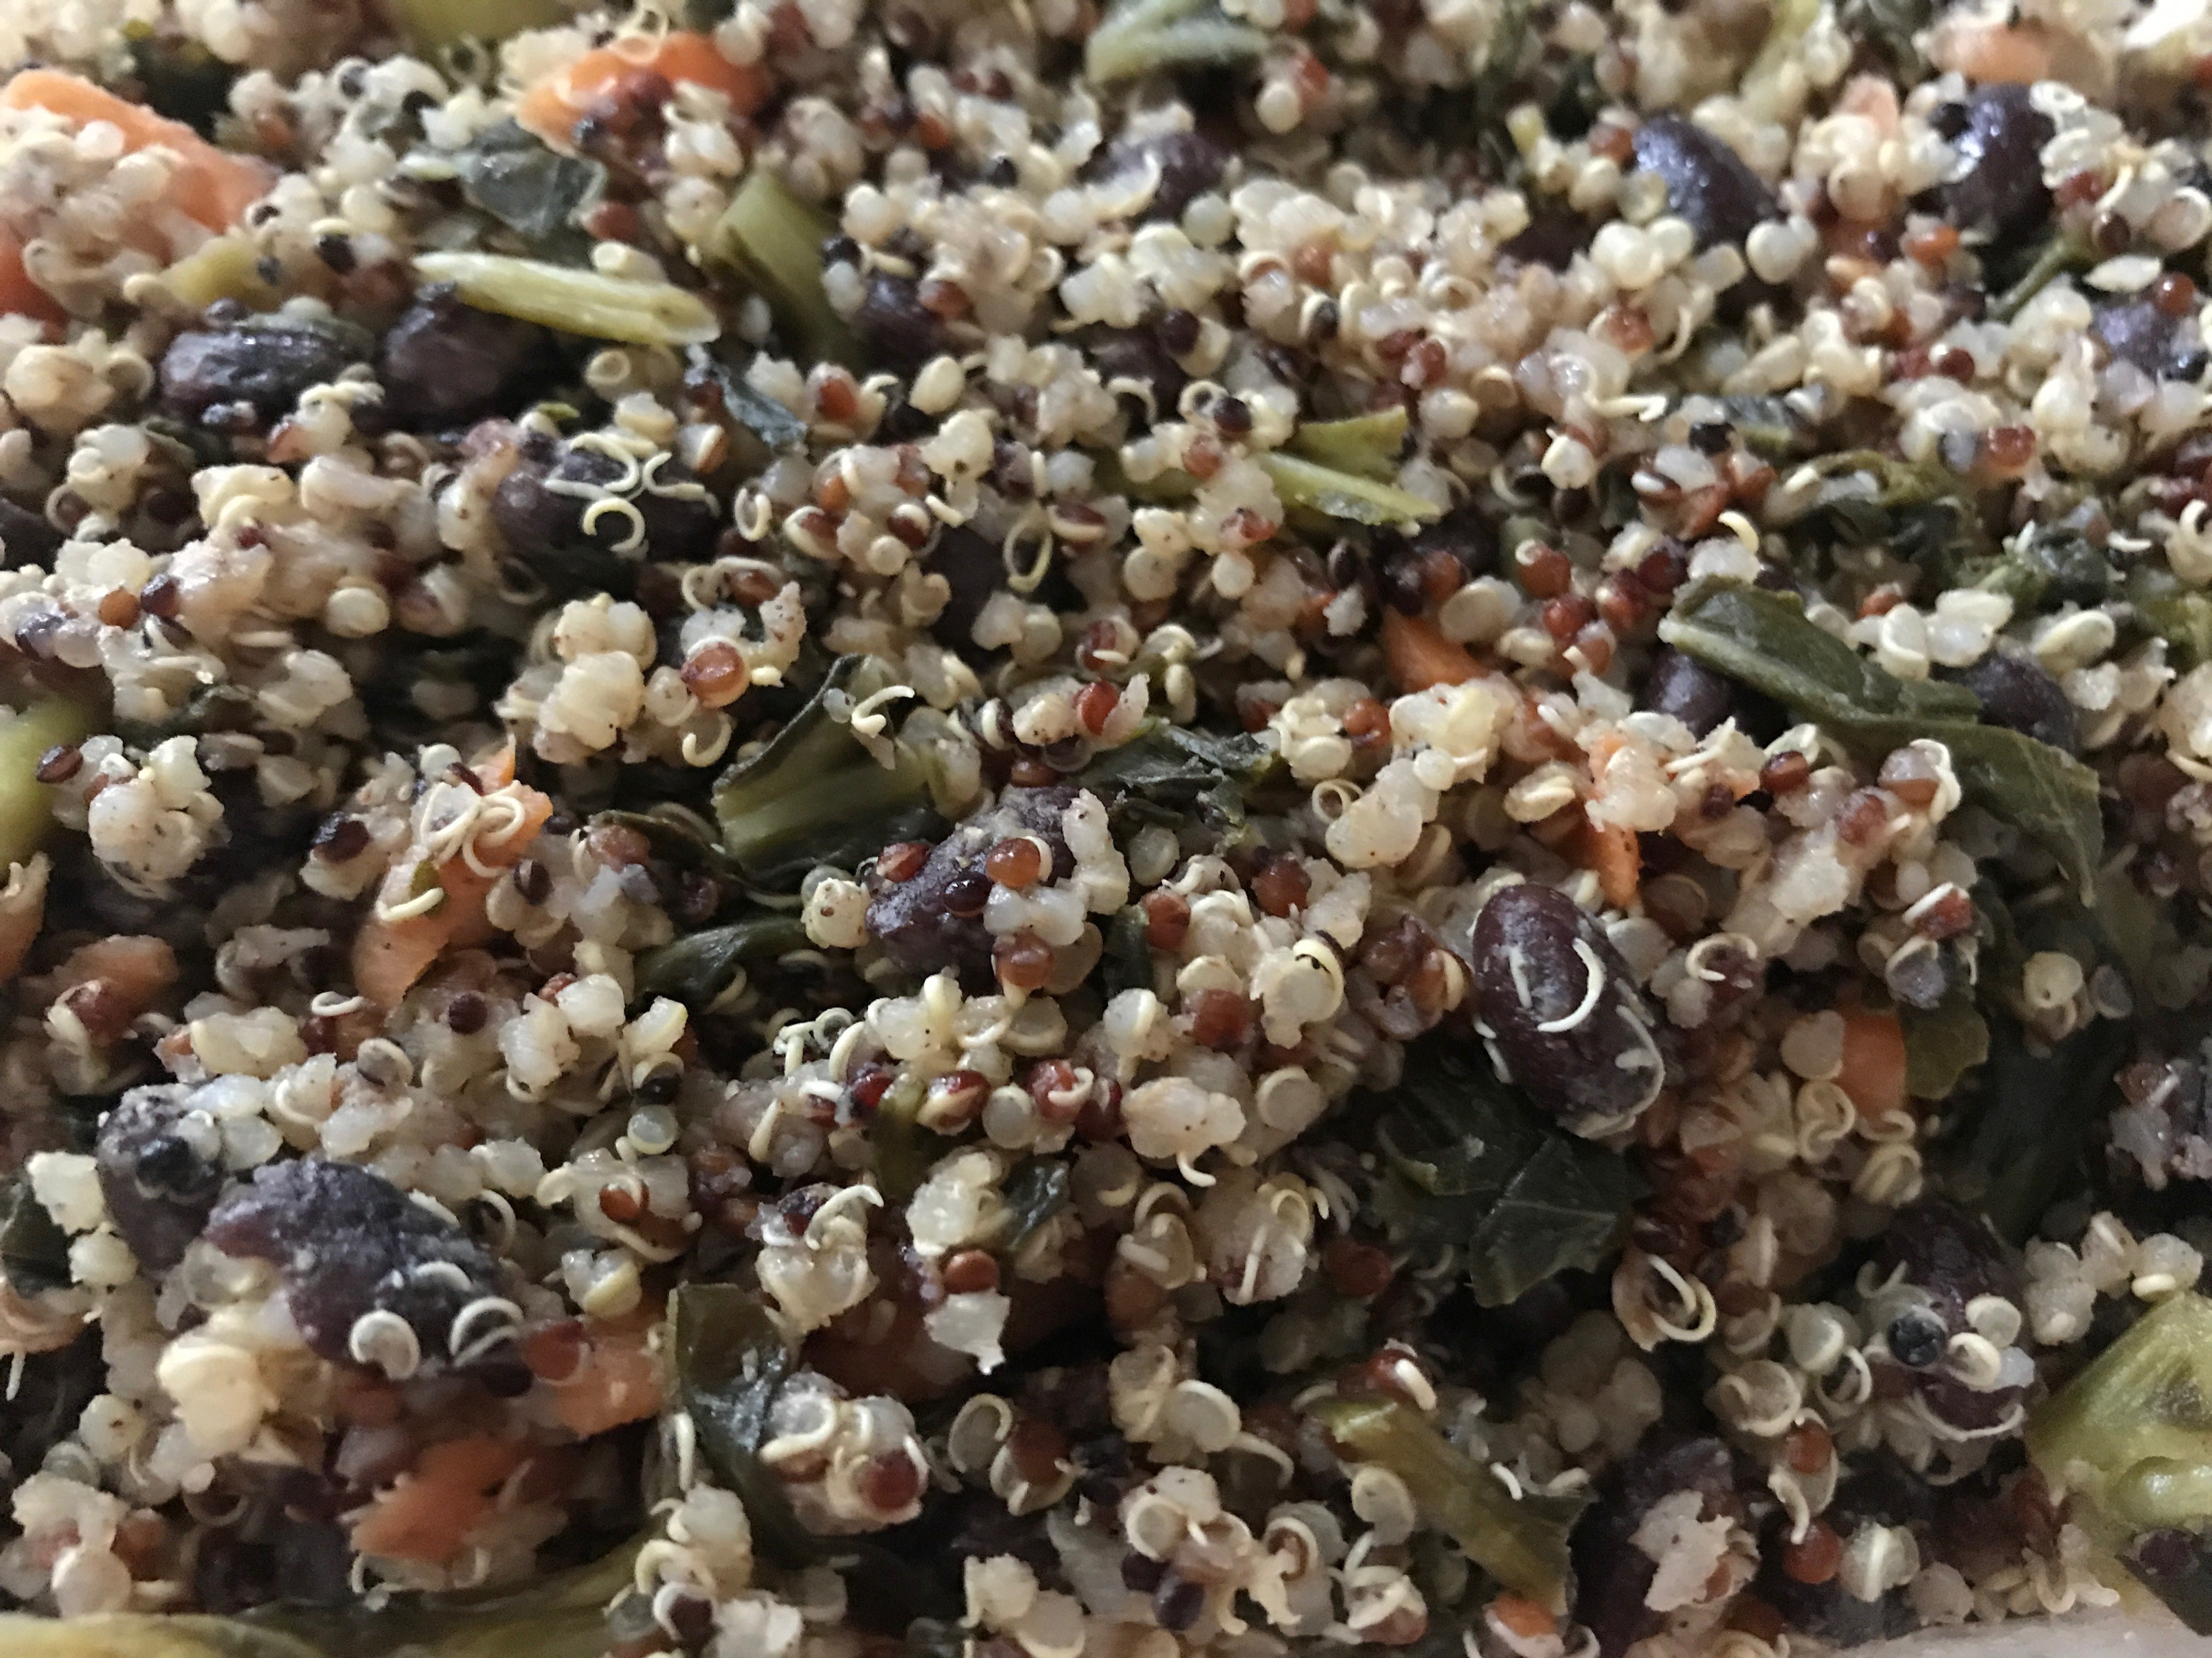
I make a quinoa salad which I and my family really likes which uses multi-colored quinoa, black beans, kale and carrots. The quinoa and black beans provide the carbs which are filling but also fiber and protein. The kale and carrots provide nutrients gained from vegetables and cuts the amount of quinoa (and hence the carbs) in a cup serving.

Quinoa Black Bean Salad

Ingredients:

2 cups water

1 cup multi-colored quinoa

2 cups frozen, chopped kale

1 cup thinly sliced baby carrots

16 oz can of no salt, no sugar added black beans, rinsed well and drained completely of all water

3 tbsp olive oil

1 tbsp apple cider vinegar

1/4 tsp salt

1/4 tsp black pepper

3/4 tsp ground cinnamon

3/4 tsp ground cardamom

1-3 tsp honey (optional; use desired amount of sweetness if using; if making for just the family, I omit; if making for company, I use 2 tsp)

Cooking Instructions:

  1. In a medium saucepan, pour the water and add the quinoa. Bring the water to a boil, then lower the heat and simmer until the quinoa has plumped, is showing white rings, and has absorbed all the water. This will take anywhere from five to 15 minutes, depending on how vigorously you are simmering the water. I find that it’s helpful to stir the quinoa every so often.
  2. Once the water is absorbed, remove the pan from the heat, cover the quinoa and let it sit. You want the quinoa to be completely dry before you mix it with other ingredients. This can take anywhere from 10 to 30 minutes, depending on how much of the water was actually absorbed into the quinoa before you removed it from the heat.  When it’s completely dry, you will be able to fluff the quinoa with a fork. If the quinoa clumps together when you try to stir it, then it’s still a bit damp.
  3. While the quinoa is drying, thinly slice baby carrots to make a cup. You can use regular sized peeled carrots but then you’ll want to cut the thin slices in half because you are only cooking the carrots a short amount of time in the microwave with the kale, and you don’t want the carrots to be hard. Once you have a cup’s worth chopped, put it aside for the moment.
  4. Put 2 cups of frozen, chopped kale into a microwave safe bowl.  Follow the instructions for cooking, only halfway during the cooking time, remove the bowl, stir the kale and add the cup of chopped carrots. Finish cooking the kale in the microwave.
  5. Add the kale, carrots and black beans to the quinoa and mix well.
  6. In a measuring cup, whisk together the olive oil, apple cider vinegar, salt, pepper, cinnamon and cumin and honey, if using.
  7. Drizzle the dressing onto the quinoa salad and use a spoon to incorporate the dressing into the quinoa salad.
  8. Salad can be served warm or cold. Can store in the fridge for a long time.
Advertisement

Cooking Techniques: Croquettes

“But you play that, not eat it!”

I confused my son last week because I made croquettes (kro-kets), and he thought I said, “Croquet (kro-kay).” He thought it was funny that we were going to eat the game! And of course, croquettes actually look like little balls, so throughout the entire meal, he kept pretending that he was hitting them through croquet hoops.

If you aren’t familiar with croquettes, the name comes from the French, but they’re simply chopped up meat or chicken or cheese or vegetables or fish or potato or rice or quinoa or beans or combinations of all these, rolled in breadcrumbs or seeds or nuts and then cooked. For me, croquettes are a lovely way to use up leftovers. They’re versatile, not only in what you can put into them, but the way you can make, cook, and serve them. Plus if you serve them for company, the French name makes them think you’ve done something special. *grin*

Croquettes are quite easy to make, especially if you’re beginning with leftovers. The most common recipes you’ll find online are for ones made with mashed potatoes, either alone or in combination with meat, chicken, cheese, or vegetables. You’ll usually find, too, that they’re fried in some way, whether deep-fried or pan-fried, but they can be just as good baked. Below I’ll give you some tips for how to go about making your own.

The Main Ingredients: What’s important to know about croquettes is that no matter what you use, smaller is better. You don’t want large chunks in your croquettes. Because you’ll be rolling the mixture into balls, the smaller the pieces of meat or vegetables, the easier it will be for them to adhere to one another. I use my food processor to zoop at least one of the ingredients into almost a paste – potatoes, butternut squash, chicken, fish, rice, quinoa, beans, etc… all work well. Then I process the rest of the ingredients into tiny pieces which will mix well into the more paste-like ingredient. The reason I made croquettes last week was because I had some leftover chicken breasts which weren’t enough to serve as another meal for the whole family, so I processed them into a paste and added finely chopped cooked zucchini, mushrooms, and broccoli (also leftovers).

The Seasonings: You can season croquettes however you like. Salt and pepper, of course, but herbs (basil, oregano, thyme, rosemary, chervil, sage, mint, dill, tarragon, marjoram, etc…) and spices (allspice, cayenne, cardamom, coriander, tumeric, cumin, paprika, nutmeg, cinnamon, garlic, ginger, cloves, mustard, onion, saffron, etc…) of your choosing are great, too. If you are going to eat the croquettes by themselves, you should season more heavily. If you are going to serve them with a sauce, then the croquettes can be more plain because the sauce will give them flavor.

The Binder: It’s important that your ingredients hold together to keep their shape. If you do as I do and puree one of the ingredients into a paste, then the rest of your ingredients will stick to that. It’s one of the reasons why so many croquette recipes are made with potatoes. Potatoes are naturally glutinous. If you want all your ingredients to be small, solid pieces, though, then you’ll need something to hold them together. Most anything works. Some recipes use eggs. Others call for mayonnaise or sour cream or yogurt. Many just moisten the ingredients with a little bit of liquid like chicken or vegetable broth or milk and add some flour or bread crumbs to give the vegetables or meat something to adhere to. Whatever you choose to do is fine. What’s important is that your ingredients can be shaped into balls, so if they can’t and won’t stick together, try something different.

The Shaping: Whatever ingredients you use and however you choose to bind the croquettes, I recommend that you chill the mixture before you shape the croquettes. Unless your ingredients are super sticky, chilling the mixture will help them to adhere to another better. I use a quarter cup measuring cup to form my croquettes but you can certainly make them smaller or larger. Whatever size you make, though, having them be uniform will allow them to cook evenly if you bake them or help you to time them consistently if you’re frying them.

The Coating: After you’ve shaped your main croquette ingredients into balls, you need to coat them with something. Usually they are coated in bread crumbs. I like to make my own with gluten free bread, but you can use store bought bread crumbs. What’s important is that your crumbs be very fine. Texture is very important to the taste of the croquettes. If you opt to use something other than bread crumbs, there are many options: cracker crumbs, finely ground nuts or seeds, flour, etc… Once you decide on your coating, you can decide how you want to adhere the bread crumbs (or other choice) to the croquette balls. You can roll the balls in beaten eggs, in milk, in broth, in mayonnaise, in just about anything which will help the bread crumbs stick to the croquettes. I find that eggs make for a crispier croquette, mayonnaise (or something similar like sour cream or yogurt) for a moister croquette, and milk and broth for softer croquettes, so you can choose.

The Cooking: If you want to deep fry them, it’s best to make sure you have enough oil to completely cover the croquettes. You also want to heat your oil as hot as you can. I have a deep fryer which heats to 374 degrees but if you heat oil in a pan stove-top, you can usually get the oil to about 350 degrees. The hotter your oil, the more quickly the croquettes will cook and the less oil they will absorb. Since your ingredients in the croquettes are already cooked, all you’re doing is making the croquette warm and crispy, so usually just two to three minutes is all they need to cook.

If you want to pan fry the croquettes, you simply need enough oil to brown all the sides of the croquettes. Having your skillet on medium high is good. Simply place the croquettes in the skillet and allow them to brown on one side before turning them over to brown on the other. When making the croquettes in a skillet, they usually take about four to five minutes per side.

My preferred method for making croquettes is to actually bake them because they’re healthier that way. I line a pan with aluminum foil which I’ve crinkled and very lightly grease the foil with olive oil. I place the croquettes on the foil and then lightly brush them with olive oil. I preheat my oven to 450 degrees and bake the croquettes for about 20 minutes, turning them halfway through.

The Sauces: Croquette sauces are as varied as the ways you can make the croquettes. You can dip them into a barbecue sauce, a cheese sauce, a tomato sauce, a lemon sauce, a mustard sauce, a garlic sauce, an avocado sauce, a dill sauce – if you can imagine it, you can make it. What’s important is to think about the ingredients you used in the croquettes and to match a flavor which would complement the croquettes. So, for example, if you used ham and potatoes, maybe a mustard sauce. If you made fish croquettes, maybe a lemon-dill sauce. What’s fun is if you make croquettes and serve them with a couple of different sauces for the family to try.


The Coating:

The Cooking: