Creative Cooking: Brussel Sprout Chocolate Chip Cake

brussel-sprout-cake

“The secret ingredient is what?”

After one day of Thanksgiving leftovers, my husband is usually ready for something different. So, over the past few days we’ve had a turkey shepherds’ pie (using leftover turkey, some of the roasted carrots and cauliflower, and the mashed potato timbale), turkey-vegetable soup (using leftover turkey, the rest of the roasted carrots and cauliflower, and the leek gravy), stuffing muffins (using leftover stuffing and some of the leftover turkey sausage stuffed mushrooms), cranberry waffles (using leftover whole berry cranberry sauce), cranberry muffins (using leftover cranberry-orange relish), and quiche (using the rest of the leftover turkey sausage stuffed mushrooms).

Yesterday as I was rummaging through the fridge to see what we still had leftover, I found the roasted brussel sprouts which I hadn’t used in any of the above meals. While searching online to see if there might be anything interesting I could use them for, I found a recipe for brussel sprout cake. I was intrigued but a closer look at the multitude of recipes — which I discovered to actually be the same two recipes just remade by many, many people — revealed a lot which I didn’t like about the cake.

One was simply that the cake seemed to be a variation of a fruit cake recipe, only with vegetables added, so the bake time was lengthy and the cake, more dense than I’d like. Two, the recipes called for two cups of sugar and two cups of oil.  Third, all the extras which make the cake more like a fruit cake — the raisins, walnuts or pecans, shredded coconut, etc… — were not ingredients my children would like in a cake. Four, the recipes, were of course, not allergy friendly for wheat, dairy and nuts.

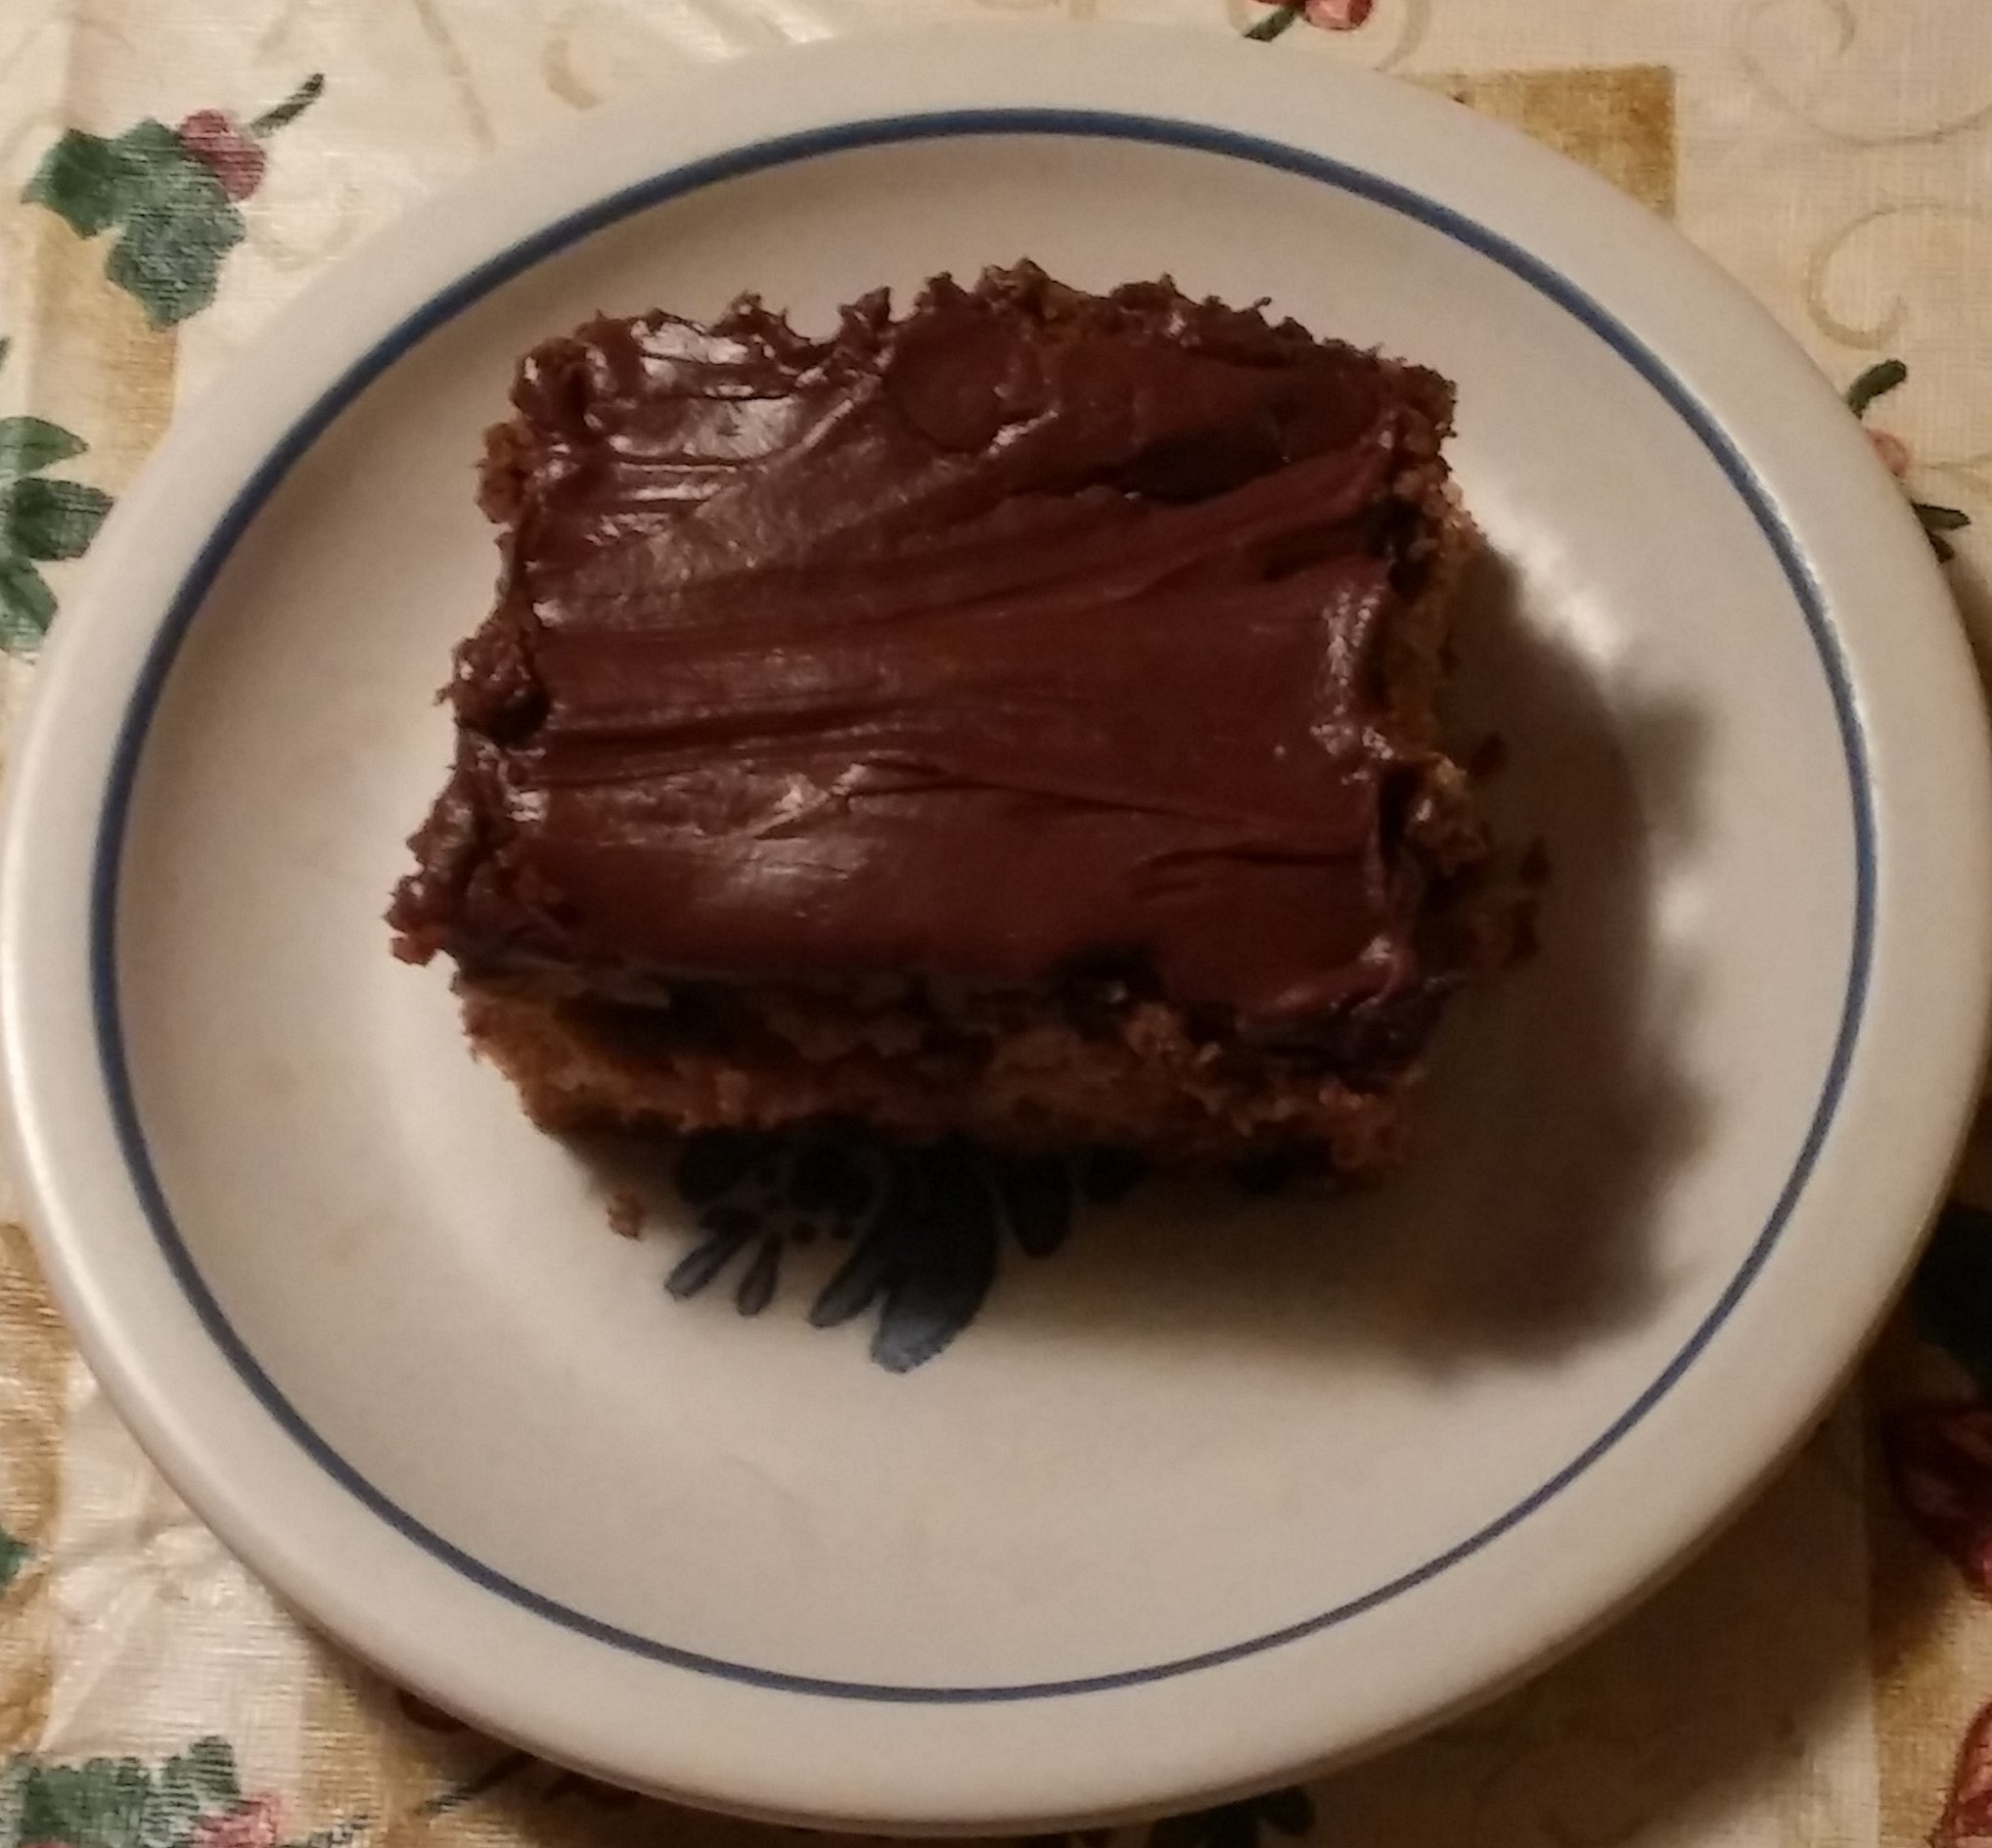
So, I decided I’d create my own brussel sprout cake which used gluten free flour in place of the wheat, agave instead of sugar and in half the amount, applesauce for some of the oil, and a small amount of mini chocolate chips in place of the original “extras”. When the cake was done, we topped it with a dark chocolate frosting, and the result was an extremely tasty cake which now contained the health benefits of brussel sprouts which includes being high in protein and vitamins C and K.

Brussel Sprout Chocolate Chip Cake

Ingredients:

2 cups roasted brussel sprouts

1/2 cup safflower oil

1/2 cup unsweetened applesauce

1 cup agave

1 tbsp vanilla

4 eggs (if you are watching cholesterol, use 1 cup liquid egg whites instead)

2 cups gluten free flour blend (I used Pillsbury brand for this cake)

1 cup gluten free oat flour

2 tsp baking powder

1 1/2 tsp baking soda

1 tsp salt (you can reduce this if you are watching sodium intake)

2 tsp ground cinnamon

1 tsp ground nutmeg

1/2 tsp ground ginger

1/2 tsp ground cloves

1 cup Enjoy Life allergen free mini chocolate chips

2 tbsp apple cider vinegar

Baking Instructions:

  1. Preheat the oven to 350 degrees and line an 11 x 15 pan with parchment paper.
  2. Coarsely chop up the brussel sprouts in a food processor for a few seconds or with a knife on a cutting board.
  3. In a large bowl, combine the brussel sprouts with the oil, applesauce, agave and vanilla.
  4. Beat the eggs and add them to the brussel sprout bowl. Set aside.
  5. Combine the gluten free flour with the oat flour, baking powder, baking soda, salt, cinnamon, nutmeg, ginger and cloves.
  6. Stir in the mini chocolate chips.
  7. Add the dry ingredients to the wet ingredients, along with the cider vinegar, and mix just until the dry ingredients are moistened.
  8. Pour into the prepared pan and bake for 30 to 35 minutes until the cake has puffed, is golden, and a toothpick inserted in the center comes out clean.
  9. Cool on a wire rack.
  10. Frost with favorite frosting recipe. (We made dark chocolate but I think a cream cheese frosting or vanilla or cinnamon frosting would be equally tasty.)


Holiday Happenings: Cranberry Sauce

bags-of-cranberries

“Apparently cranberry sauce is underappreciated….”

My husband came home the other day and told me about a news story on the radio. The topic was cranberry sauce and how it was not as appreciated as other foods eaten during the Thanksgiving meal. This, of course, spurred discussion among our family about our own cranberry preferences. My son will only eat jellied cranberry sauce with no chunks. My oldest, my husband and I love cranberry sauce in any form. My other daughter won’t eat it, no matter the texture.

Cranberries, however, are very good for your health, containing antioxidants, fiber, and many nutrients needed by the body. What I find, though, is that because they have such a tart flavor, folks use way too much sugar when cooking with them. So, I like to make my own cranberry sauce instead of purchasing it from the store.

When I tell folks that I make cranberry sauce, they always seemed to be surprised, which I find surprising since cranberry sauce is the easiest food to make. You simply put cranberries into a pot with water and sweetener and let it cook down. The entire process takes about 10-15 minutes, at the most.

Where the creativity comes in is deciding what type of cranberry sauce you’d like for Thanksgiving. You can add other fruits to the cranberries like pears or apples or tangerines or oranges or apricots or cherries to add a contrasting fruity flavor to the cranberries. You can add red wine or port or bourban if you’d like a more complex flavor. You can add ginger or maple or anise or jalapeno if you’re looking to try something a little different this year. You can use water, orange juice, apple cider or any other liquid you can imagine to change the flavor. You can add nuts or dried fruits to add crunch and texture. You can even change up the texture of the sauce, making it chunky, relish-style or jellied.

And after Thanksgiving the cranberry sauce can be “recycled” in many ways. Swirl it into your favorite cheesecake recipe. Add the sauce as a fixing for your favorite sandwich. Mix it into a muffin recipe. Top pancakes or waffles with it. Combine it with another fruit to make the filling for a pie. Stir it into your breakfast oatmeal. Use it as a spread for a slice of quick bread like banana or zucchini. Combine it with cream cheese for a dip. Top vanilla ice cream with it. The ideas are endless.

A food as versatile as cranberry sauce is truly just begging for you to experiment this year. And what’s great is that unless you’re allergic to cranberries, people with food allergies can eat it!

Some tips:

  1. The cranberries: It doesn’t matter whether you use fresh or frozen cranberries. The general rule of thumb is that about 12 ounces of cranberries requires about 1 cup of liquid.
  2. The sweetener: For most recipes, for 12 ounces of cranberries, they’ll call for 1 cup of sugar. I’d suggest you cut that in half and save your health or use 1/4 cup Agave or 1/2 cup of coconut sugar or 1/3 cup truvia.
  3. The add-ins: Decide what type of cranberry sauce you’d like to make and add the ingredients in with the cranberries so that they all cook together and the flavors meld.
  4. Traditional Style: To make traditional cranberry sauce, simply put all your ingredients into a pot, bring the liquid to a boil, let it simmer for about 5-10 minutes until the cranberries pop and are the texture you’d like, remove from the heat, let it cool, and then refrigerate until you’re ready to use it.
  5. Relish Style: Simply use your food processor to chop up the cranberries, sweetener and additions and refrigerate. You should decrease the liquid, though, and only add just enough to moisten the relish.
  6. Jellied Style: Prepare the sauce as you would for the traditional but then push everything through a strainer, mashing the ingredients as much as you can to get as much as you can into the sauce and then refrigerate what you’ve pushed through the strainer.


Recipe Revamping: Tiramisu

website-tiramisu

“But you don’t like coffee….”

When we came to the States from Japan, we lived on a military base just outside of New York City which meant I had access to all the city had to offer such as Little Italy where you could go to a restaurant and get tiramisu freshly made with chef-made whipped cream.

For folks who know me, they are confused by my love for tiramisu because I am not a coffee drinker. I like to smell everyone’s coffee but I never drink it. I prefer tea. Coffee has a bitterness to it which I have never had an appreciation for. I do, however, like coffee flavored foods. Before I developed my dairy allergy, coffee ice cream was one of my favorites, and tiramisu was my favorite dessert splurge.

For folks unfamiliar with tiramisu, it’s an Italian dessert which layers sponge cake dipped in coffee between a mixture of mascarpone cheese and whipped cream or mascarpone cheese and egg yolks. Most recipes make it “mocha” style and call for sprinkling cocoa powder in between the layers and on top. You can also make cinnamon tiramisu which sprinkles cinnamon instead of the cocoa powder.

If you have gluten and dairy allergies, though, tiramisu can be a thing of the past for you… made the traditional way, that is. I’ve come up with a way to make it for me, though, which is not only tasty but just as creamy. It does, however, use coconut whipped cream, so if you have an allergy to coconut, I’m afraid my recipe won’t work for you.

I have learned, though, from folks that you can make whipped cream from canned chickpea liquid which I haven’t personally tried in tiramisu yet but I’m thinking I’ll experiment in the future with it. The recipes I’ve found say that you take the liquid from 2 cans of chickpeas, mix it with ¼ teaspoon of cream of tartar, 2 teaspoons vanilla and 1 cup of sugar, and then whip it all up into whipped cream. It may be that this version can be used as a substitute for the coconut whipped cream if legume aren’t an issue for you.

Tiramisu

Ingredients:

Two containers Tofutti dairy free cream cheese, at room temperature

One container So Delicious dairy free coconut whipped cream, partially thawed (I usually just take it out of the freezer and let it sit while I’m pulling together everything else)

Two containers Schar’s gluten free ladyfingers

4 cups strong coffee (I use double the coffee called for per cup)

unsweetened cocoa powder or ground cinnamon

Optional: shaved chocolate or cinnamon sticks

Assembling Instructions:

  1. Use a 8 x 11 rectangular glass pan. It perfectly fits the two boxes worth of ladyfingers.
  2. Using a mixer, whip the cream cheese until light and fluffy. Scrape down the sides.
  3. Mix in the coconut whipped cream until well blended and creamy.
  4. Open one of the packages of ladyfingers and dip both sides of each ladyfinger into the prepared coffee. Layer the ladyfingers in the pan.
  5. Spread half of the whipped cream cheese/cream mixture over the ladyfingers and sprinkle either unsweetened cocoa powder or ground cinnamon over the top.
  6. Open the second box of ladyfingers, dip both sides of each into the coffee and layer the ladyfingers on top of the whipped cream cheese/cream mixture.
  7. Spread the remaining half of the whipped cream cheese/cream mixture over the ladyfingers and sprinkle either unsweetened cocoa powder or ground cinnamon on top. If you like, you can decorate it with shaved dairy free chocolate pieces or cinnamon stick shavings.
  8. Refrigerate for at least several hours. (This is one of those desserts which tastes even better the second day when everything has “settled” well.)