
“Do you know what a hummingbird cake is?”
If it weren’t for the fact that I had just learned about the hummingbird cake a few months ago, I might have answered my friend with, “Huh?”
As it was, though, Southern Living had just included that cake in a special collections magazine last Spring which I had read, so I responded with a more intellectual, “Actually, yes, I do. Why do you ask?”
Apparently my friend needed to make a hummingbird cake for a reception, but it needed to be dairy, gluten, and nut free, and she needed it for the evening of her phone call to me.
For anyone not familiar with this delectable cake, it is essentially a banana-pineapple cake, first introduced in 1978 by a Mrs. L.H. Wiggins who had sent it to Southern Living. The original recipe called for 3 cups of flour, 2 cups of sugar, 1 tsp baking soda, 1 tsp salt, 1 tsp cinnamon, 3 beaten eggs, 1 1/2 cup salad oil, 1 1/2 tsp vanilla, one 8 oz can of crushed undrained pineapples, 2 cups chopped pecans or walnuts, and 2 cups bananas.
Southern Living recently posted the recipe again in the special collections magazine I mentioned where they made two versions: A layer cake recipe which was the same as the above only they decreased both the nuts and oil to one cup; and a bundt cake recipe which cut the oil from the original recipe in half but only reduced the nuts by 1/2 cup and interestingly decreased the bananas by 1/4 cup and the salt by 1/2.
My friend wanted to make the new bundt cake version, only allergy friendly. Since I happened to have ripe bananas which I’d been hoping to use anyway, I set to work creating a cake for her to use.
Original Hummingbird Bundt Cake from Southern Living
1 1/2 cup chopped pecans, 3 cups all purpose flour, 2 cups sugar, 1 tsp baking soda, 1 tsp cinnamon, 1/2 tsp salt, 3 large beaten eggs, 1 3/4 cups mashed bananas, one 8 0z can crushed undrained pineapples, 3/4 cup canola oil, and 1 1/2 tsp vanilla.
Hummingbird Cake Makeover:
1. Pecans: Since this version needed to be nut free, I opted to use Enjoy Life’s allergen free mini chocolate chips. It seemed like the recipe needed something to add, and my personal theory is that you can’t go wrong with chocolate chips. If folks don’t want chocolate, I would suggest chopped dates which would give the cake the same texture as if adding nuts.
2. Flour: Since the cake needed to be gluten free, the question was what type of flour. For a bundt cake, you don’t want a flour which is too heavy, but at the same time you need some structure to the batter, so I opted to use half of the Authentic Foods gluten free blend which is made of brown and sweet rice flours and half Bob’s Red Mill gluten free blend which is made of garbanzo and fava bean flours. Folks can use whichever gluten free flour blend most liked, though. Next time I might try Cup4Cup’s whole grain blend which I like for a flour blend which I haven’t made myself.
3. Sugar: My friend didn’t say anything about sugar, but since I don’t even have sugar in the house usually, except just enough for my husband’s coffee, I chose to use Agave, half the amount needed of sugar. Since I was using the Agave, I knew that I’d need to think about a way to balance the wet and dry ingredients so I reduced the oil which I’ll talk about in a moment. For folks who would rather use something similar to sugar, I’d recommend coconut sugar, if there are no coconut allergies, but then folks should keep the oil as is and not decrease it.
4. Oil: It was a great relief to see that Southern Living had decreased the original 1 1/2 cups of oil to 3/4 cup, but I was thinking we could do even better. Since I was using the Agave, I decreased the oil to 1/2 cup, and instead of using a canola oil, I opted for safflower oil.
5. Eggs: Since three whole eggs are a lot, I used one whole egg mixed with 1/2 cup of liquid egg whites. For folks who may need this recipe to be free of eggs, I suggest mixing 3 tbsp of golden ground flax seed with 9 tbsp of water and letting it sit for five minutes to thicken. Since the flaxseed won’t provide the rising eggs afford a recipe, I would also add 1 tbsp of apple cider vinegar to the recipe to create a chemical reaction with the baking soda.
6. Bananas and Pineapple: Because both bananas and pineapples have good nutrients, I simply kept those as they were in the original recipe.
7. Flavorings (salt, cinnamon, vanilla): Since Southern Living had decreased the salt already to 1/2 tsp, I kept that as is, but I added ground ginger and nutmeg to the cinnamon for added flavor, decreasing the vanilla by 1/2 tsp so the flavors wouldn’t be competing but complementing.
8. Baking soda: Since the cake would be a gluten free cake, I increased the baking soda by 1/2 tsp to make sure the bundt cake wouldn’t be too heavy and dense, and I added vinegar to create a chemical reaction to help with the rising of the cake.
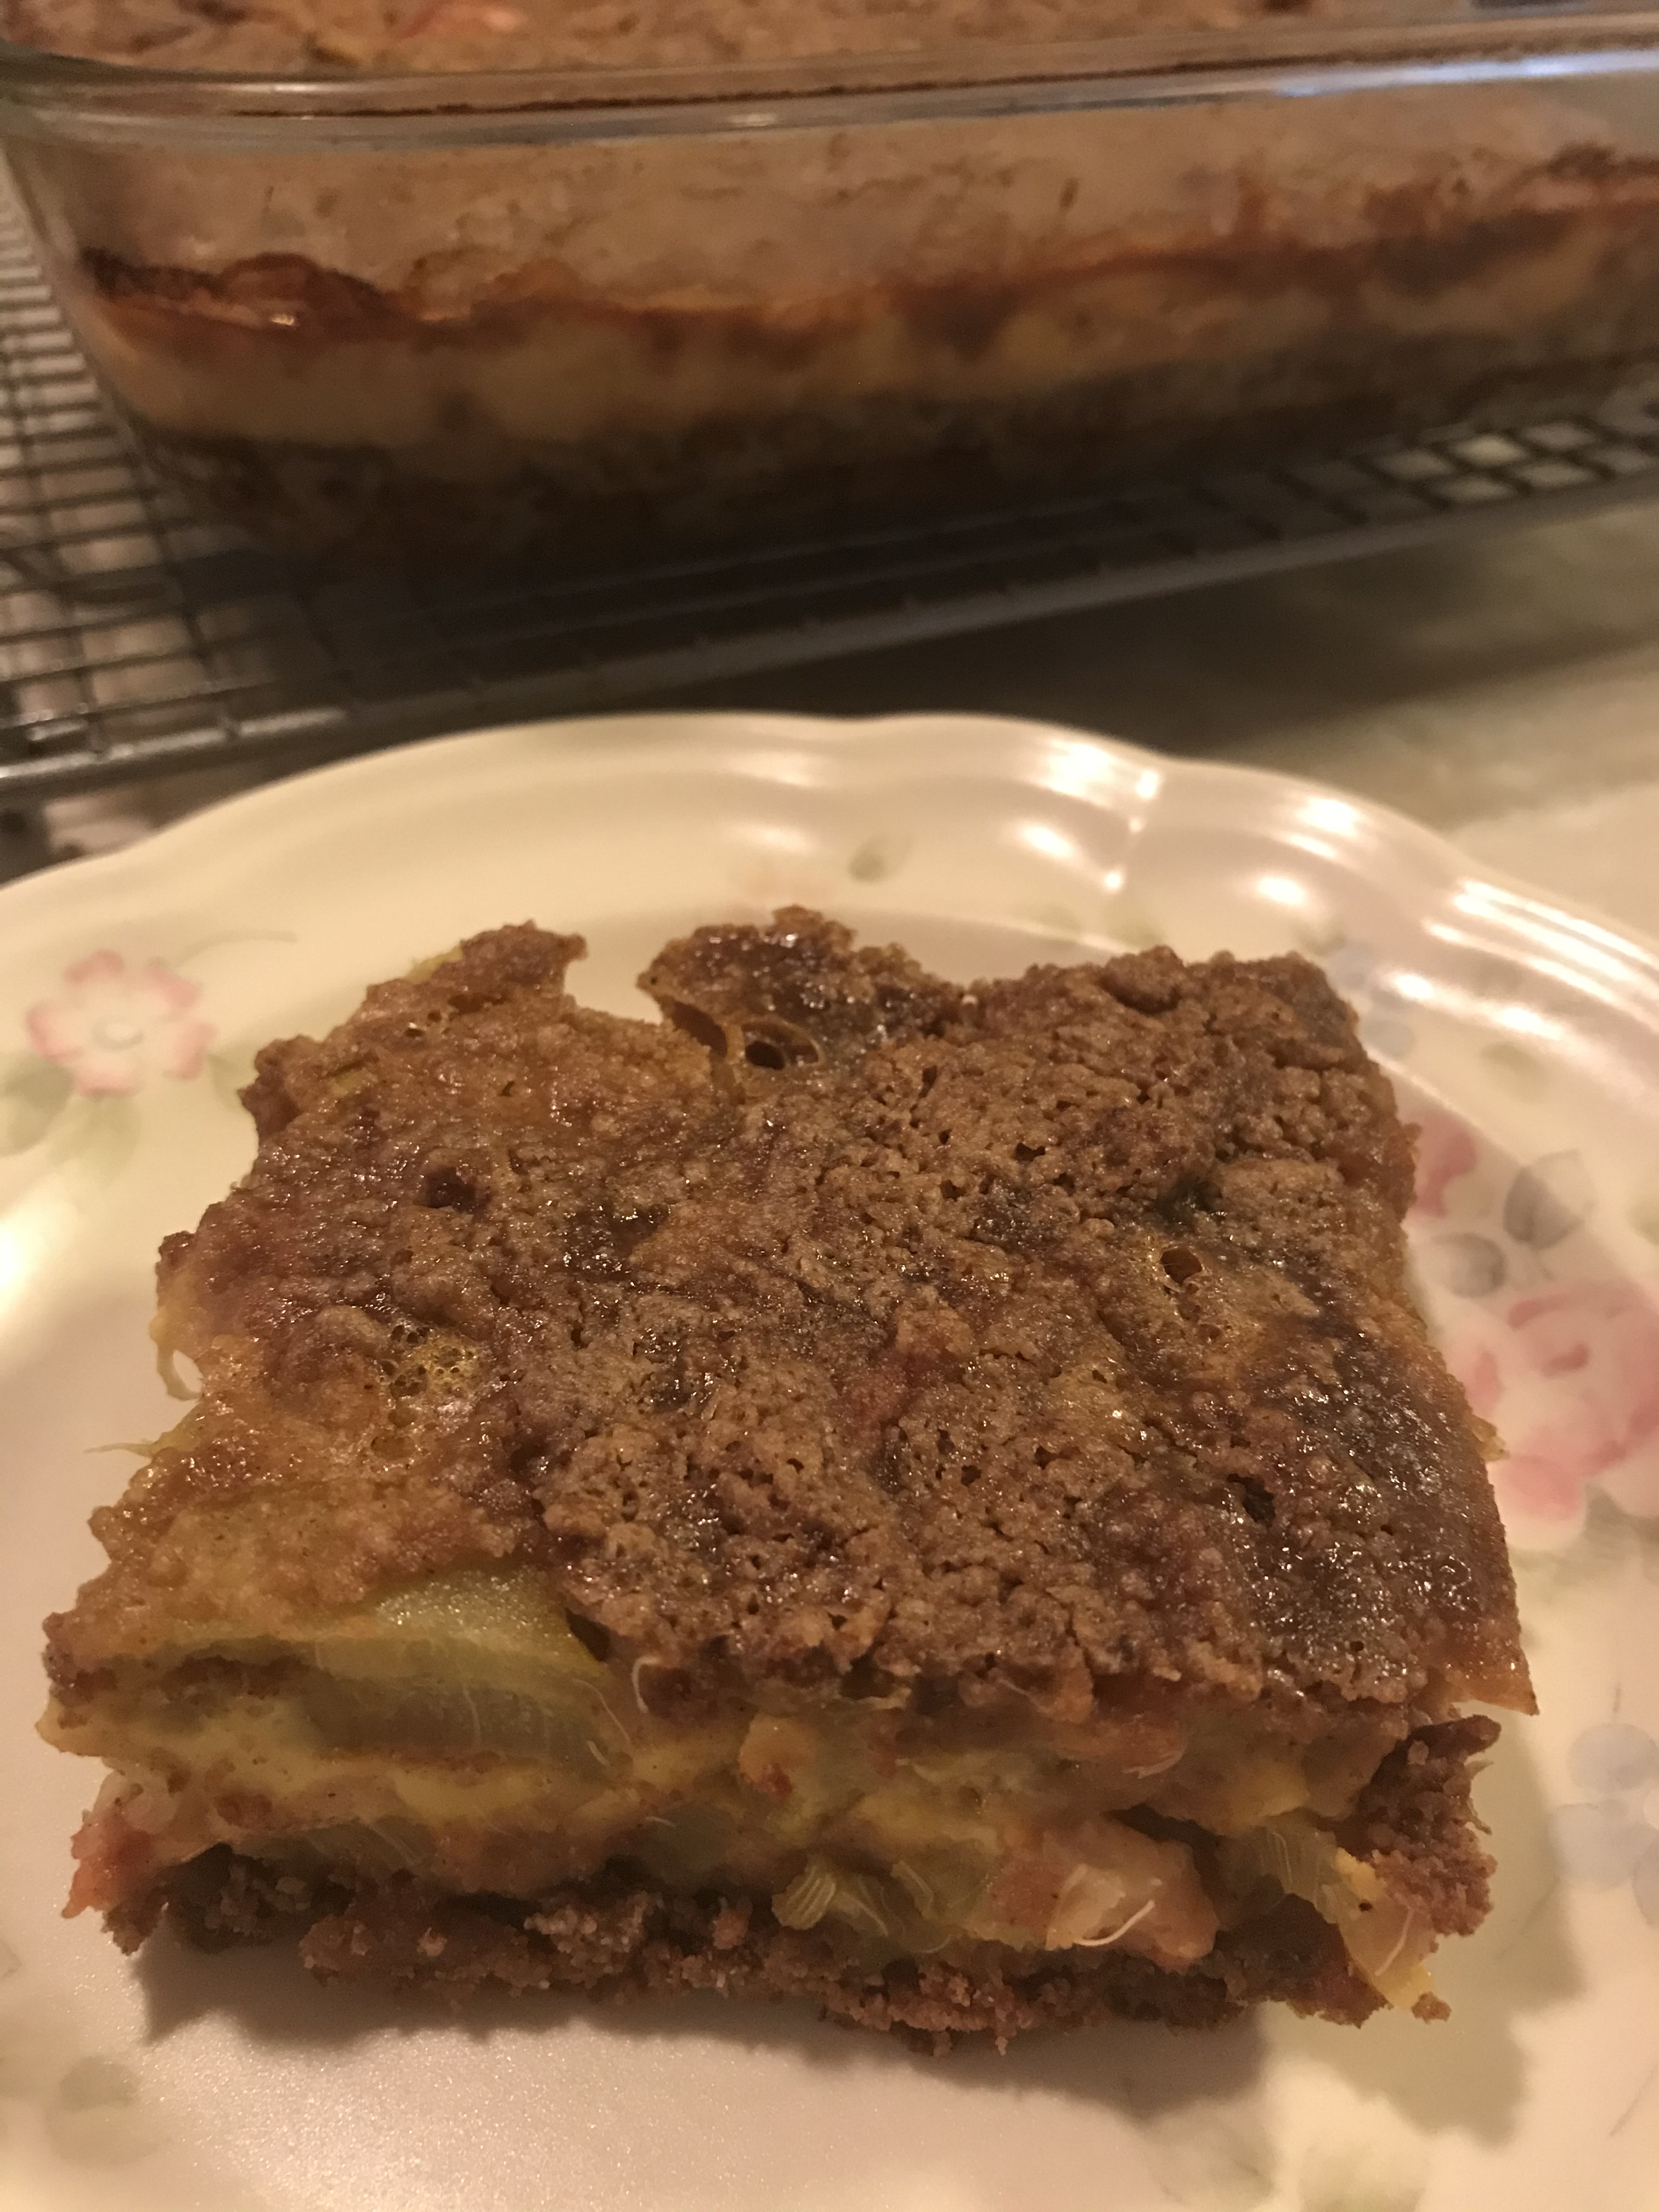
Hummingbird Bundt Cake
Ingredients:
1 whole egg with 1/2 cup liquid egg whites or 3 tbsp golden ground flax seed mixed with 9 tbsp water
1 3/4 cups mashed ripe bananas (about four medium bananas)
8 oz can crushed pineapple, not drained
1/2 cup safflower oil (if using Agave; 3/4 cup if using coconut sugar)
1 cup Agave or 1 cup coconut sugar (can use up to 2 cup coconut sugar if someone has a sweet tooth)
1 tsp vanilla
3 cups gluten free flour blend
1 1/2 tsp baking soda
1 tsp cinnamon
1/2 tsp nutmeg
1/2 tsp ground ginger
1/2 tsp salt
1 cup Enjoy Life mini chocolate chips or 1 cup chopped dates
1 tbsp apple cider vinegar
Baking Instructions:
1. Preheat the oven to 350 degrees. Grease and flour a bundt pan.
2. Whisk the ground flax seed with the water and set aside if using that. Otherwise, follow the next step with eggs.
3. Mix the bananas, pureed pineapple, oil, agave and vanilla. Add the egg mixture or flax seed mixture, and blend well.
4. Whisk together the flour, baking soda, cinnamon, nutmeg, ginger, and salt. Add the chocolate chips.
5. Add the dry mixture to the wet ingredients with the tablespoon of vinegar, and whisk well.
6. Scoop the batter carefully into the prepared pan. Tap the pan on the counter to even the batter out.
7. Bake for 60-70 minutes until golden brown and a toothpick in the center comes out clean. I would suggest checking the cake around 45-50 minutes and then gauging how much more time is needed.
8. Cool for 15 to 25 minutes in the pan before removing to a wire cooling rack to cool completely.
9. After the cake has cooled, drizzle your favorite topping over it to make it pretty. Southern Living used a glaze of cream cheese, powdered sugar, vanilla and milk. I opted to keep the cake plain but my children suggested that next time I drizzle it with melted Enjoy Life chocolate chips.


You must be logged in to post a comment.