Holiday Happenings: Cranberry Cheesecake

“If you have a good allergy…”

My oldest went to a restaurant where the menu said, “If you have a good allergy, let your server know.” She texted the picture of this typo to me, and when I responded, she said that it got worse. The rest of the blurb: “We have a glue tin free menu.”

Now, I am willing to believe the owners/managers of the restaurant didn’t catch the mistakes when they were ready to print the menus and afterwards decided that the costs of reprinting were prohibitive, but this serves as a good illustration of why folks with food allergies sometimes feel like people don’t care about their feelings.

After all, what is a good allergy? If we have the bad ones, we can’t let our server know? And it’s great that their food is free of glue and tin but what about those of us who can’t eat gluten? It’s easy for the restaurant owners/managers to wave off the typos, but for folks who live with the reality of life-threatening allergies, their dismissal can feel marginalizing.

Having had four too many anaphylactic episodes in the past several years (for most, it was how I learned I had these new food allergies!), I tend to be rather careful about food other people prepare. It meant a lot to me when my brother called to ask what he’d need to do to make the mashed potatoes dairy free for me to eat. It showed that he was taking my allergy seriously and that he wanted me to be able to partake of all the offerings and not be limited.

For most of us with food allergies, we’re not asking that people always accommodate us. We know it’s not easy and convenient to do at all times. We do ask, though, that folks at least be sensitive to the fact that we have allergies and that it’s not always easy for us either.

I always make sure to make and bring food which I can eat so that it’s not a hardship on the folks hosting, and this Thanksgiving was no exception. I ended up making those mashed potatoes for my brother, simply because I had all the ingredients and he didn’t, but I was glad he asked. And I contributed a green bean dish and homemade cranberry sauce, made without sugar, since I don’t encourage anyone to eat sugar.

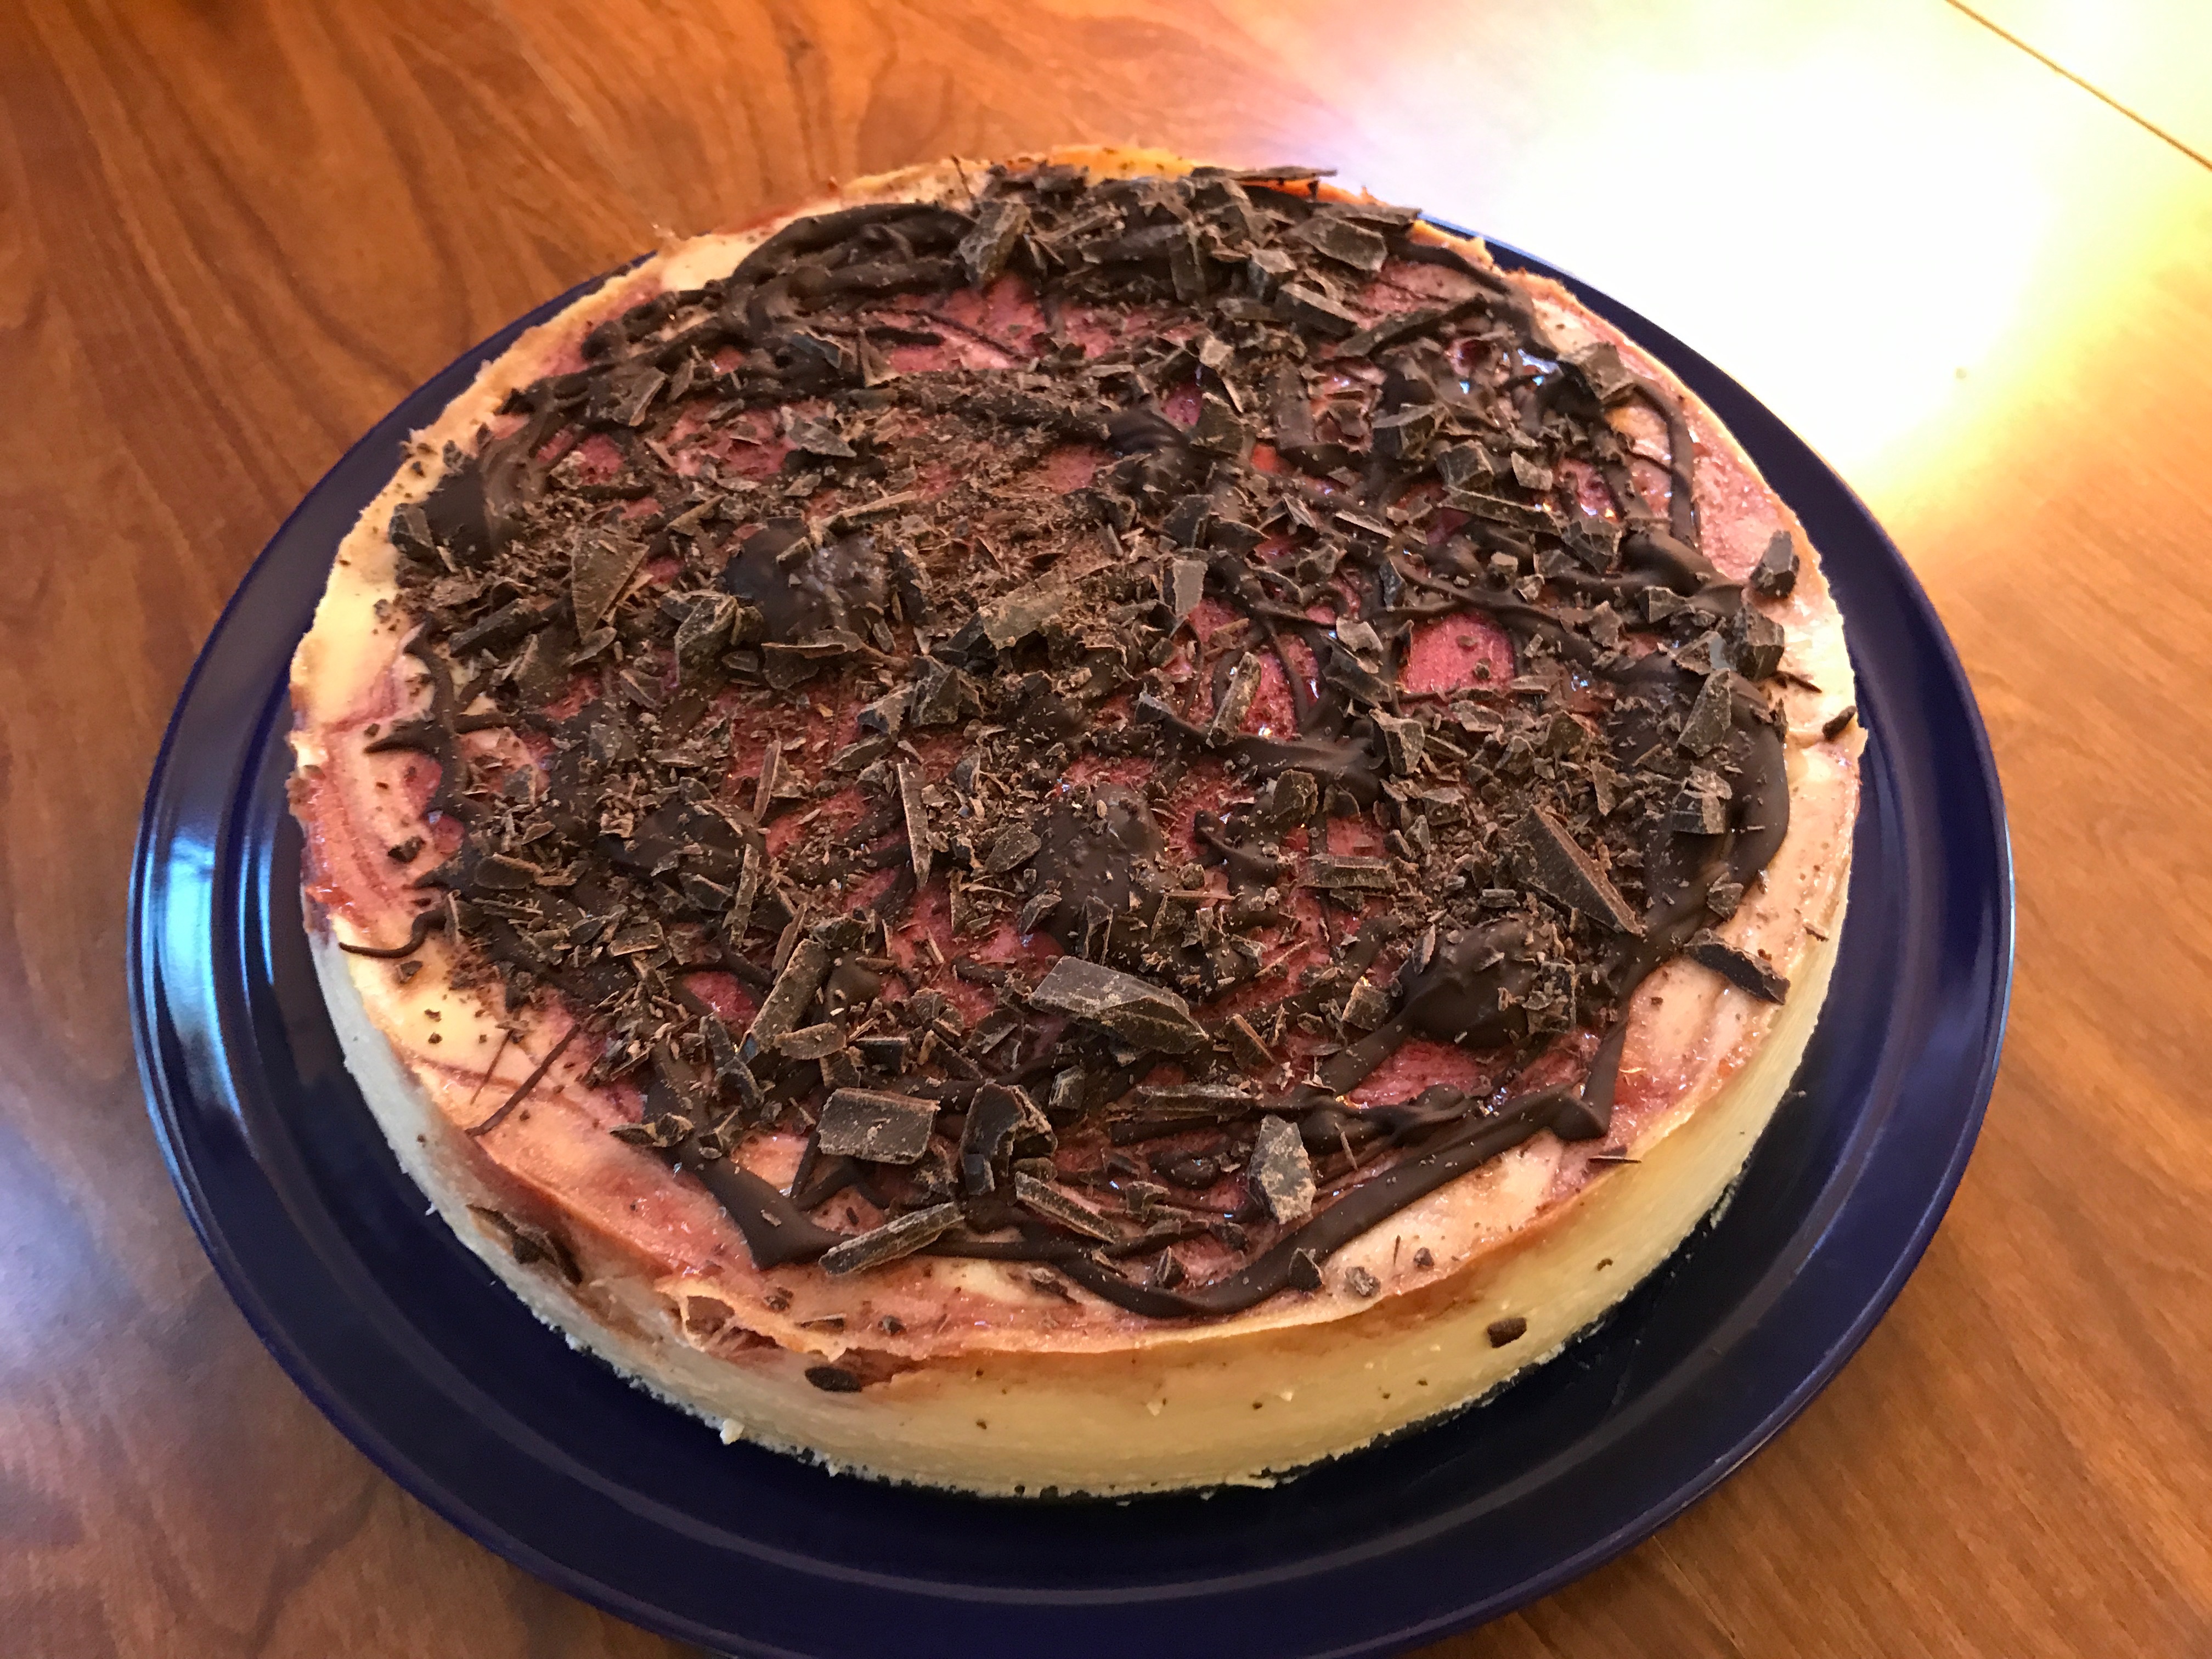
There was enough of the cranberry sauce left for me to ponder a use for it, and this past week I made a gluten, dairy free cranberry cheesecake for a brunch I hosted. It came out so creamy, and the tang of the cranberries was a wonderful complement to the cheesecake. I used only one half a cup of agave to sweeten the entire cake. It was so good! I’m going to include the recipe below. For folks who need tips on making cheesecake, see Cheesecake Tips

Cranberry Cheesecake

Ingredients:

3 8 oz containers of tofu cream cheese, at room temperature

1/2 cup agave

1 tsp vanilla

3 eggs, at room temperature

1 cup tofu sour cream, at room temperature

1 cup leftover cranberry sauce (I made a homemade version which was just fresh cranberries with water and two tablespoons of agave)

1/4 cup unsweetened orange juice

Baking Instructions:

  1. Preheat the oven to 325 degrees. Cover the bottom of a cheesecake springform pan with aluminum foil so it’s completely covered. You may need two or three layers to make it waterproof. I used an 8 inch pan for this cake to make it thicker but you can use a 9 inch pan for a thinner cheesecake. You’ll just need to adjust the cooking time. Grease the pan with your favorite method.  I just used vegan butter.
  2. In a mixer, blend the tofu cream cheese until smooth.
  3. Slowly pour in the agave, mixing the entire time on low. Scrape down as needed.
  4. Add the vanilla.
  5. Add the eggs, one at a time, blending well after each addition.
  6. Pour the cream cheese mixture into your prepare pan.
  7. If you want the chunkiness of the cranberries, then just dollop the leftover cranberries on top of the cheesecake and swirl through. If you want it smooth like I made it (because my autistic children have a thing about chunks!), put the leftover cranberry sauce in a blender or food processor with the orange juice and puree. Then dollop onto the cheesecake and swirl.
  8. Put the cheesecake pan into a larger pan and fill the larger pan with hot water, halfway up the cheesecake pan.
  9. Bake in the preheated over until the cheesecake is firm around the edges (a knife inserted will come out clean) but still a bit jiggly in the center. If you used the 8 inch pan, it may take 75 to 80 minutes or so. If you used the 9 inch pan, it may be slightly less. Don’t stress if you “overcook” by a little bit of time. It’ll just give you a firmer cheesecake, which some people actually prefer.
  10. When the cheesecake is done, turn off the oven and leave the door open and let the cheesecake cool in the oven before putting it into the fridge to chill.
  11. When you’re ready to serve it, you can drip some melted allergy-friendly chocolate as I did to make it festive or just serve as is or serve with an allergy friendly whipped cream.
  12. Enjoy!


Advertisement

Recipe Makeover: Dairy Free Vegetarian Enchiladas

“It’s killing us.”

What my high school aged daughter seems to be learning from her science classes is that we’ve screwed up the world, and as a result, too many things in our environmental lives now have negative repercussions. In many respects, I understand and agree with what the teachers are saying. On the other hand, it’s not easy to feed the family when your daughter seems to think everything she eats will cause cancer or heart attacks or just general bad health. As her list of what she thinks we shouldn’t eat anymore grows, her father and brother find themselves devoid of the foods which they would rather eat, despite the risks. Throw in food allergies, and you can see the dilemma I’m facing with the “What’s for dinner?” question.

Tonight the family was in the mood for enchiladas, something we actually haven’t had in a while. My son and husband would have preferred a nice pork or beef enchilada but my daughter wanted nothing to do with those “cancer-causing” meats, as she expressed. I’ve always loved enchiladas but since developing a life-threatening dairy allergy, I’ve not found a cheese substitute which comes anything close to what is needed for a cheesy enchilada casserole. But enchiladas were what was wanted, so I needed to put my thinking cap on and get to work.

The first question was how to make a vegetarian enchilada which would have the umami without the actual meat. Mushrooms have always been a good “meat” substitute, but only my oldest and I like mushrooms so if I was going to use them, I would need to disguise them. I also didn’t want to simply have mushroom enchiladas. I’d like a variety of vegetables. So I chose to combine spinach, mushrooms, yellow and red peppers, and cauliflower. Cauliflower may seem an odd choice, but like the mushrooms, they have a meaty component to them.

Because enchiladas require time and effort, I lessened my work by using frozen and canned versions of the veggies. It meant I could more quickly begin the assembling process without all the cooking beforehand. I also used my food processor to finely chop everything together to both disguise the mushrooms but also to create a texture that would be more like ground meat.

The second question was how to create a cheesy taste and texture without actually using cheese. The filling was easy because the use of tofu cream cheese could impart the impression of cheesy-ness. The topping, however, required a bit more thinking. Usually a vegetable enchilada calls for a white sour cream sauce and then a liberal topping of cheese, which when baked forms a nice crust for the enchiladas. I began the process of creating a sour cream sauce using tofu sour cream and unsalted vegetable stock from my freezer (if you don’t make your own, it’s easy enough to purchase at the store, or you can use vegetable broth, but you’ll want to omit the salt in the recipe then). As I looked at the mixture, it occurred to me that if I added a gluten free flour to the sauce, it would not only thicken the sauce for me, but when it baked, the flour would slightly separate from the sauce to create a crusty top. I decided to give it a try.

In the end we had a delicious vegetarian enchilada with a meaty texture and a cheesy, crusty facsimile which we’ll make again.

Vegetarian Enchiladas

Ingredients:

Filling:

two 4 oz cans of mushrooms, drained

1 cup thawed frozen cauliflower

1/2 cup thawed frozen mixed red and yellow peppers

1/2 cup green onions

10 oz thawed frozen chopped spinach

2 tsp ground cumin

2 tsp dried oregano

1/2 tsp salt

1/4 tsp black pepper

1/4 tsp red pepper flakes

“Cheese” for Filling:

8 oz tofu cream cheese

1/2 cup unsalted vegetable stock

1 tbsp lemon juice

2 tsp cumin

2 tsp minced garlic

Sauce:

1 1/2 cup unsalted vegetable stock

12 oz tofu sour cream

1/4 cup sorghum flour

1 tbsp lemon juice

2 tsp ground cumin

1 tsp ground onion powder

1/4 tsp white pepper

12 to 16 corn tortillas

Cooking Instructions:

  1. In a food processor combine and process the mushrooms, cauliflower, peppers and green onions. Add to the chopped spinach and mix well.
  2. Add the cumin, oregano, salt, black pepper, and red pepper. Set aside.
  3. In a pan put the tofu cream cheese, vegetable stock, lemon juice, cumin and garlic, and slowly melt the cream cheese over low heat, stirring continually until the mixture is smooth.
  4. Add the vegetables to the cream cheese sauce and combine well. Set aside.
  5. In another pan combine the vegetable broth, tofu scour cream, sorghum flour, lemon juice, cumin, onion powder and white pepper. Over low heat, stirring continually with a whisk, let the mixture slowly heat and thicken.
  6. Grease a 9 x 13 pan and cover the bottom of the pan with about 1/3 of the sour cream sauce.
  7. Wet a paper towel and wrap the corn tortillas in the wet paper towel. Heat the tortillas in the microwave 20 seconds at a time until the tortillas are warm, soft to the touch and pliable enough to bend. (Mine took 40 seconds total).
  8. Divide the vegetable mixture among the tortillas evenly. (I had enough filling for 16 tortillas but I opted to fill twelve and then use the leftover filling to cover the top of the twelve tortillas to increase the “taste coverage” of the filling, but you can simply fill all 16 tortillas if you’d like.)
  9. Cover the tortillas with the remaining sour cream sauce.
  10. Bake in a preheated 350 degree oven for 30 minutes.


Menu Suggestion: Stuffed Flounder

“We’d like to take you on a whale watch.”

Some friends of ours wanted to thank us for having been there for them over the years and suggested treating us to a whale watch, something the children had always said they wanted to do but which we’d never had.

The day was beautiful, and as we began the journey towards the open seas, the children had a great time watching the waves, feeling the wind, and chatting with our friends. Slowly, however, we began to realize that our children suffer from seasickness, and within an hour of the trip, the children were… well, let’s just say, their symptoms weren’t the pleasant kind.

While my daughters were old enough to fend for themselves, I ended up being caretaker for my son, holding him, watching his face, helping him to rinse his mouth, and the like. By the time it was clear there really wasn’t much else left to come out of him, he was just plain exhausted, and he fell into a deep sleep.

Just after he fell asleep is, of course, when we finally reached the deepest waters and amazingly enough there were three beautiful whales to be seen for a very long time. Unfortunately, I couldn’t rouse my sleeping son to see it. After his miserable experience, he wanted nothing to do with the whales and just kept pushing me away, insisting he’d rather sleep. In the end he missed what would probably have been one of the best experiences of his life.

Sometimes I feel people behave similarly when it comes to the idea of eating fish. They had a bad experience once or they ate some which didn’t taste to their liking or they don’t like the look and smell of fish in general, and they write off all fish and end up missing food which is not only very healthy for them but which can be incredibly tasty.

Recently we wanted to make a special meal for dinner, and I chose to make flounder. Flounder is one of those fishes you’ll often find on a restaurant menu because it’s very mild tasting. As a rule my children actually prefer salmon over most white fish, but I like to use flounder (or sole, as it’s sometimes called, too) when I want to make a nice stuffed dish for a special occasion.

What’s nice about flounder is that is has all the health benefits of fish while also being low in mercury which they’re always telling you to be wary of eating too much of. For stuffing purposes, it’s a nice fish because they’re thin and layer and roll well.

By now, if you’ve been reading my blog for a while, you know that I’m a firm believer in making things as easy as possible. So, this post is about how to make a quick and easy stuffed flounder. There is no rolling of fish, no trying to hold the rolled fish and stuffing while trying to roll it in bread crumbs, too. This is my version of what is actually a very nice company dish, which you can adapt to your own tastes.

Tips for Stuffed Flounder:

1. The flounder: The two big debates you’ll always hear are “wild versus farmed” and “fresh versus frozen”. Generally speaking, people say that wild fish doesn’t have the types of chemicals you’ll find in farmed fish. Personally, I think you’re going to find both bad and good in anything you eat these days, from fruit and veggies covered in pesticides to milk produced from cows given growth hormones. Be wise about moderating what you, wash all your produce, and recognize that sometimes the good health benefits outweigh the possibility of ingesting something not as good. Fortunately, flounder isn’t as greatly farmed as salmon, so most flounder found in the stores are usually wild anyway.

As for fresh versus frozen, people make a big deal about frozen fish being second rate. I personally have never found anything to complain about. Frozen fish is cheaper and ready when you want to use it instead of having to eat it on its freshness timetable. The tip is to make sure that after you defrost it, you rinse the fillets and pat them completely dry. If you choose to purchase fresh flounder at a fish market or at the grocery store, make sure they’re fillets (unless you like skinning and boning a whole fish yourself, in which case, go for it) which are a nice white color, not graying, and which don’t smell – fresh flounder really doesn’t smell all that fishy.

2. The stuffing: You can use almost anything you want to stuff flounder. People will use bread crumbs, stuffing, rice, vegetables, even meat. I personally prefer to use vegetables, and the recipe I will be sharing uses frozen greens mixed with other sauteed vegetables.

So, you can choose spinach, kale, collards, turnip greens, your choice. For my recipe, it is important to use thawed frozen versions of these as opposed to fresh because you need the moisture from the frozen varieties for making the creamy sauce for the vegetable stuffing.

For other vegetables, any possible combination exists. My personal favorites are spinach and mushrooms or kale and zucchini and squash or collards and carrots, but you can use whatever foods you like best.

3. The topping: When you’re making a stuffed flounder, you can leave it bare or you can cover it. I prefer to cover the flounder because it helps to keep the flounder from drying out too much. Many recipes will call for either coating it in breadcrumbs or making a sauce to pour over it. I prefer to use a light breadcrumb topping because I’m not actually rolling the flounder to stuff it.

For a breadcrumb topping, I use a nice gluten free high fiber bread which I pulse into tiny breadcrumb pieces, but you can always use a gluten free packaged bread crumb mixture, too. The key is to not use as much as most recipes call for and to use a nice olive oil instead of butter and to mix it with lovely herbs for a great taste.

4. The preparation: Most stuffed flounder recipes tell you to individually roll the flounder around the stuffing, and it is true that those little rolled pieces of fish look quite pretty when you put them onto your company’s plate. The problem I find, though, is that it’s not always easy to roll the fish around the stuffing and to get it to stay rolled, and when you go to eat it, it’s actually quite a mess because the fish will fall apart and then you’re eating the fish and stuffing separately anyway.

So, what I do is to put a layer of fish on the bottom of a pan, put my stuffing on top of those fillets, and then cover the stuffing with a second layer of fillets. This way, you have fish on both sides of your stuffing without the hassle of rolling, and when you eat it, the tastes of the fish and the stuffing meld together in your mouth. In addition, when the fish is topped with bread crumbs, the final presentation is quite pretty and easy to serve.

Stuffed Flounder

(Recipe for a company crowd, can cut in half for a family)

Ingredients:

1 tbsp olive oil

1 tbsp minced garlic

1 tbsp minced onions

16 oz sliced mushrooms or sliced zucchini and squash or sliced carrots

10 to 16 oz thawed frozen spinach or kale or collards:  Do NOT squeeze out any of the liquid.

1/4 tsp ground black pepper

1 tsp dried oregano

1/2 tsp dried crushed thyme

8 oz tofu cream cheese

14 thin flounder fillets

1 cup gluten free high fiber bread crumbs

1 to 2 tsp olive oil

2 tsp Italian herb blend

Cooking Instructions:

1.  Lightly grease an 11 x 15 pan and preheat the oven to 375 degrees.

2. In a large sauteing pan, mix the olive oil with the garlic and onions and cook for about a minute over meduim low heat until fragrant.

3. Add the mushrooms or zucchini and squash or carrots and saute for 3 to 5 minutes until the vegetables are softer and beginning to cook through.

4. Add the spinach or kale or collards along with the pepper, oregano and thyme and cook for another 3 to 5 minutes until most but not all of the liquid has begun to evaporate.

5. Put the tofu cream cheese into the center of the vegetable mixture and continue to stir and mix the cream cheese into the vegetables over medium low heat until its completely melted and incorporated into the mixture. This usually takes about 2 to 4 minutes.

6. Layer seven flounder fillets on the bottom of the baking pan. Cover each fillet with the vegetable mixture. Cover the vegetable stuffing with the last seven fillets, and flatten the layered fish so it completely fills your pan and is even.

7. In the same pan you used for making the vegetable stuffing, mix the bread crumbs with just enough olive oil to moisten them and with the herb blend. Saute for a minute.

8. Evenly divide the bread crumbs over the top of the stuffed fillets and pat the crumbs down so they stick to the top of the fish.

9. Bake for about 20 minutes. The topping will be golden brown, the fish a nice white, and there will be some bubbling from the stuffed vegetable mixture.

If your oven runs hot, check it at 15 minutes. You don’t want to overcook the fish. If by some chance you do, overcook it a little bit, cover the pan with foil and let it sit, covered, until you’re about to serve it.  This will restore some of the moisture to the fish.

10. Serve the stuffed fish with a nice salad of mixed greens and herbs and enjoy!